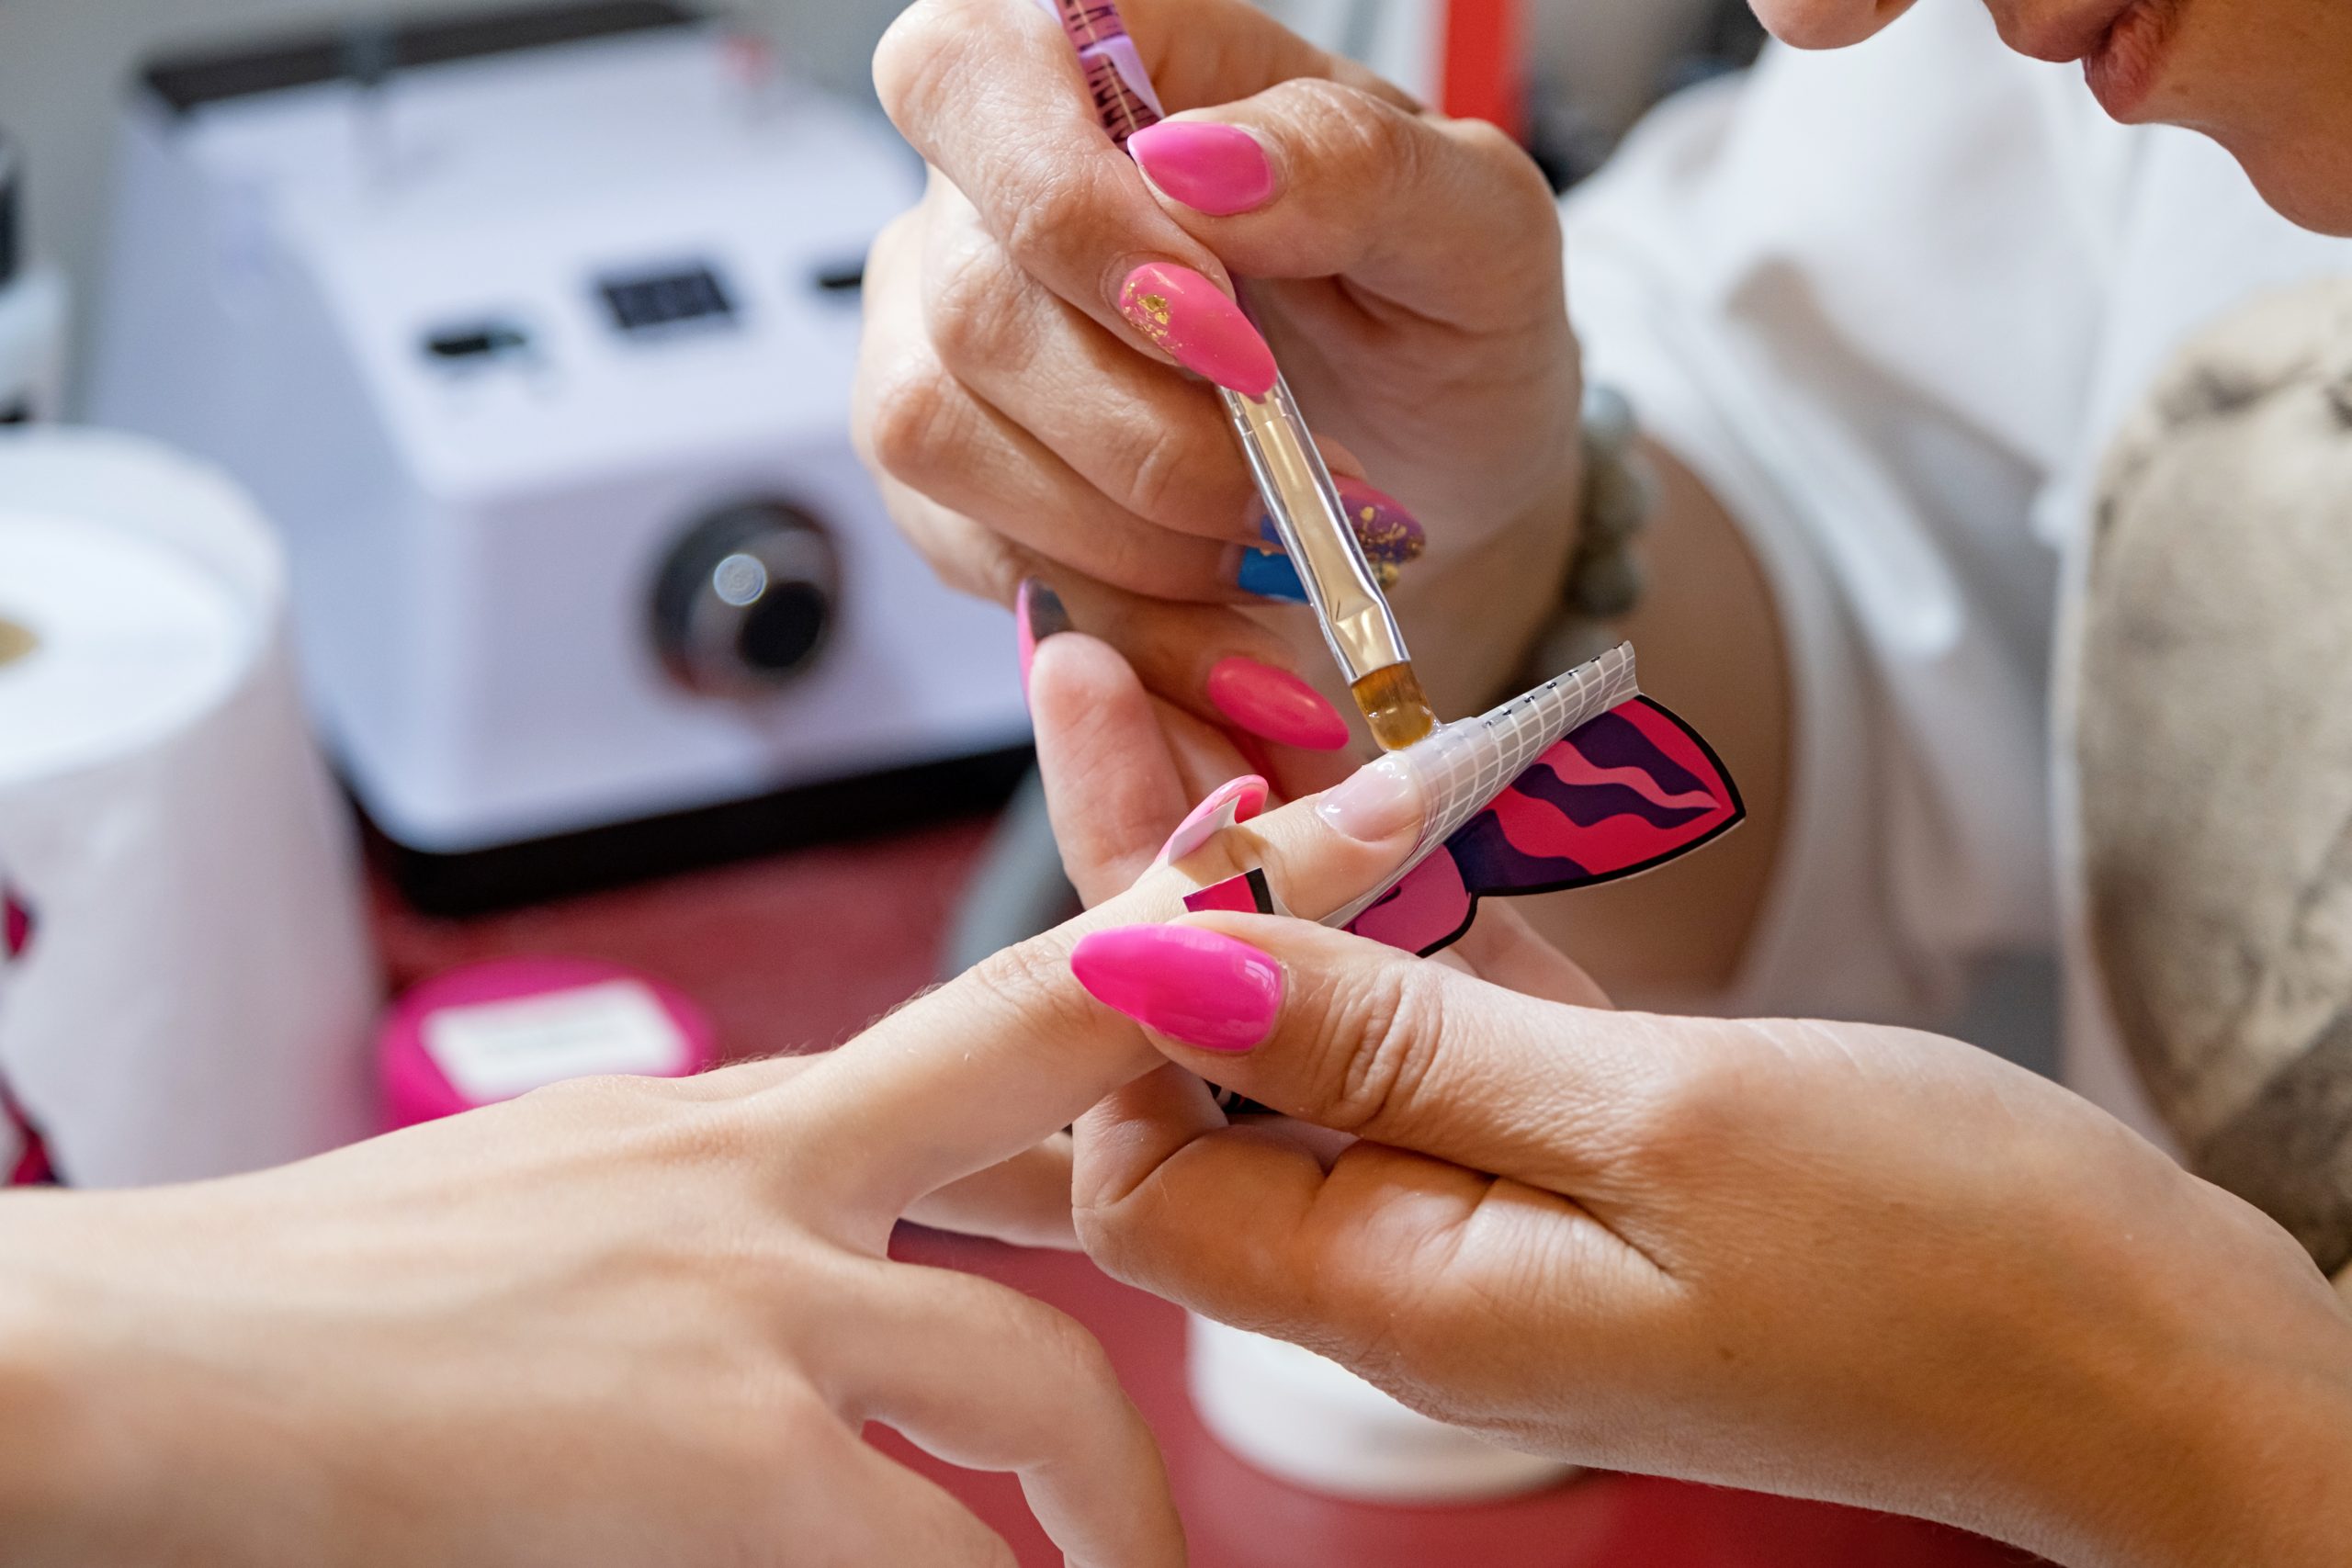
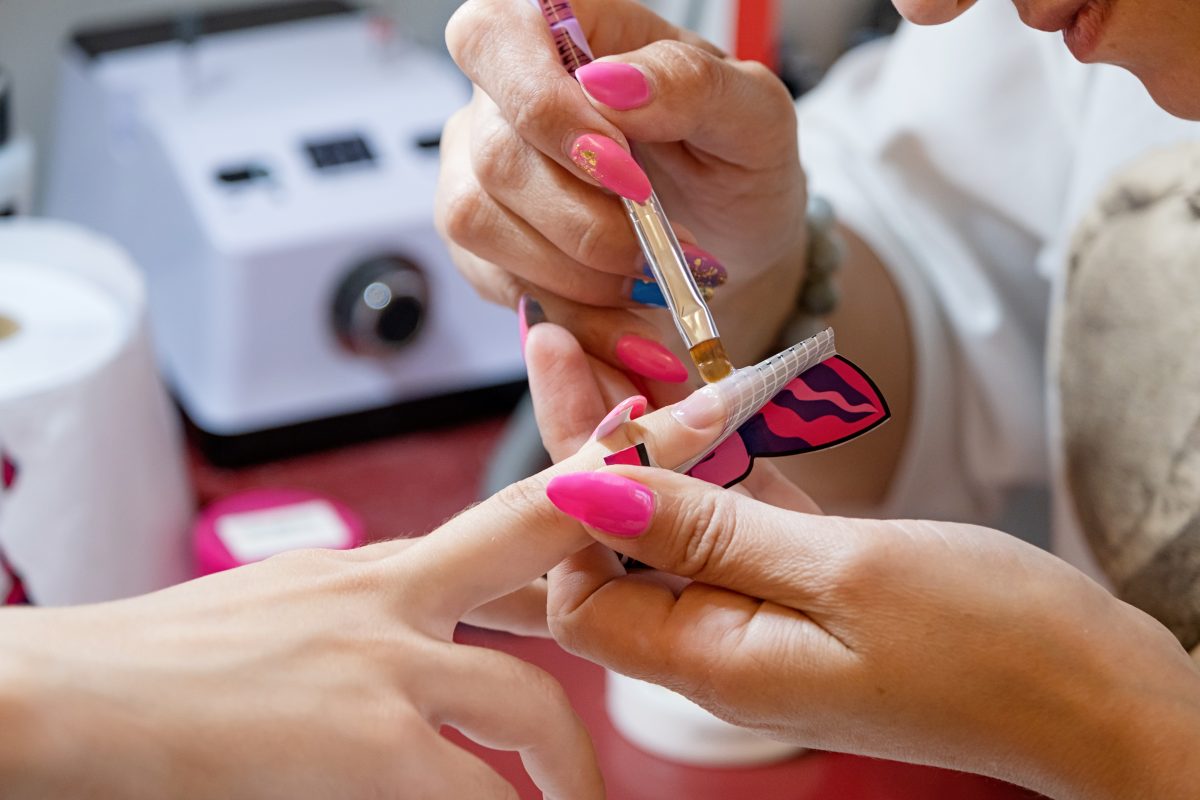
In the ever-evolving world of nail salons, acrylic nail application is the art that can elevate your business to new heights.
It’s not just about applying a product—it’s about crafting a look that combines artistry, technical skill, and personal care. When done right, acrylic nails don’t just transform a client’s hands; they keep them coming back, eager for more. Plus, a high-quality acrylic service can directly impact your salon’s reputation and bottom line.
For nail technicians, mastering acrylic nail application is a must. From creating the perfect shape to ensuring long-lasting wear, every step requires precision, patience, and an eye for detail.
Acrylic Nail Application Guide
Applying acrylic nails may seem intimidating at first, but breaking it down into clear, actionable steps ensures consistent results. Here’s a professional step-by-step acrylic nail application guide for salon technicians.
Prepare the Natural Nails
Preparation is key to long-lasting acrylic nails. Neglecting this step often leads to lifting and premature damage.
- Apply dehydrator and primer to enhance adhesion.
- Sanitize hands and nails to reduce bacteria.
- Remove old polish or enhancements using a non-acetone remover.
- Shape and buff the natural nail lightly to remove shine and create a surface for adhesion.
- Push back cuticles carefully to avoid acrylic lifting.
Choose Your Acrylic Products
Selecting the right acrylic products ensures a smooth application and professional finish. Consider these essentials:
- Acrylic brushes: Invest in size 8–10 oval brushes for precise bead formation.
- Monomer liquid: Opt for a high-quality, low-odor monomer to minimize client discomfort.
- Acrylic powders: Available in clear, pink, white, or custom shades for natural or French nails.
Applying Acrylic Nails
This is where technique meets artistry. Follow these steps:
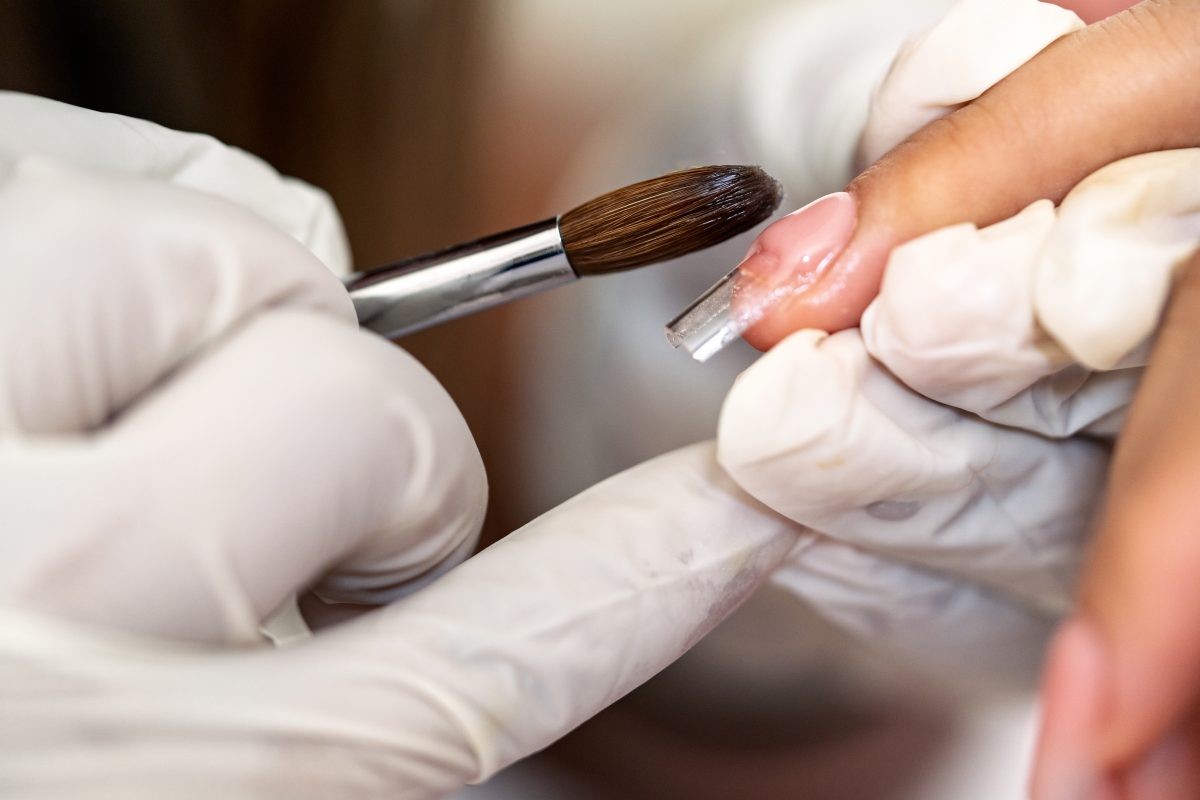
- Dip brush into monomer, then into powder to form a bead.
- Place bead at the cuticle area, then gently pat and shape along the natural nail.
- Work in sections, building layers gradually for durability and smoothness.
- Shape the free edge to desired length and style (square, oval, almond).
- Allow acrylic to fully harden before filing and buffing.
Pro Tip: Avoid applying beads too close to the cuticle to prevent lifting or skin irritation.
Filing, Buffing, and Finishing
Proper finishing transforms nails from “done” to “professional-grade.”
- File sides and free edge to smooth uneven areas.
- Buff the surface for a flawless base before applying polish or topcoat.
- Cleanse nails with alcohol to remove residue.
- Apply a protective topcoat for shine and long-lasting wear.
Professional Tips for Perfect Acrylic Nails
Even experienced technicians can improve their technique with these professional tips:
- Work quickly but carefully; acrylic sets fast.
- Maintain consistent bead size for even coverage.
- Use quality brushes and powders to prevent lifting and cracking.
- Hydrate client cuticles post-application to ensure nail health.
- Avoid over-filing the natural nail, which can cause thinning and damage.
Common Mistakes to Avoid
- Ignoring client nail shape and preferences, which can affect aesthetic appeal.
- Skipping nail prep, leading to lifting.
- Using expired monomer or powder, causing poor adhesion.
- Applying too thick or thin acrylic layers, resulting in uneven nails.
Best Acrylic Nail Products for Salons
Choosing the right acrylic nail products is crucial for ensuring that your clients walk away with nails that are durable, beautiful, and professionally crafted. High-quality acrylic nail kits not only improve the outcome but also make the application process more efficient. Here’s a breakdown of top acrylic nail kits tailored for professional nail salons.
Acrylic Nail Kits
Acrylic kits contain all the essential tools and materials for a successful acrylic nail application. These complete kits are ideal for both beginners and seasoned professionals who want reliable products for their services.
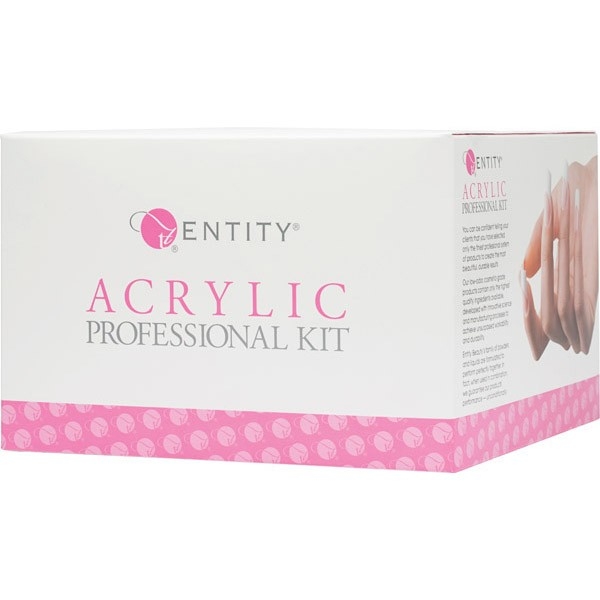
- Entity Acrylic Professional Kit – A comprehensive kit that includes everything needed for professional applications, making it ideal for those building their salon-ready skills.
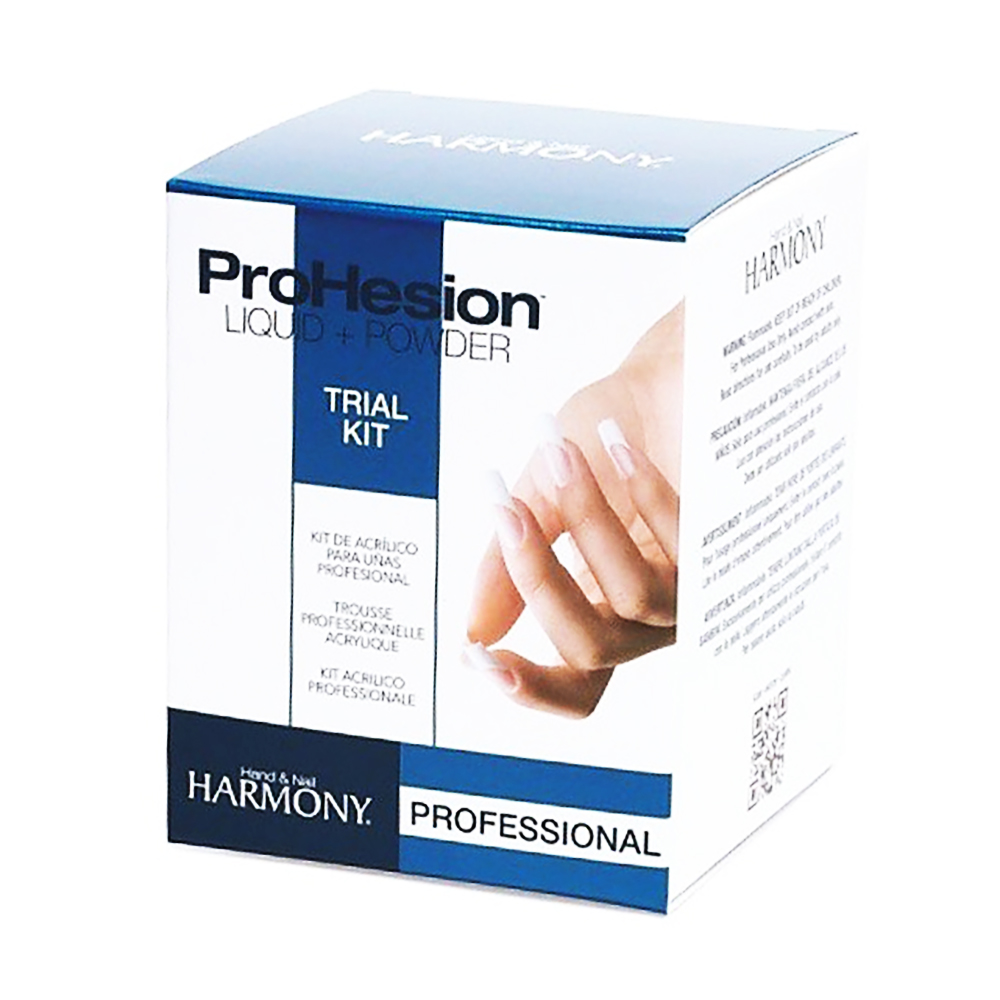
- ProHension Liquid & Powder Professional Trial Kit– A perfect introduction to acrylic nail sculpting, offering premium products for testing and refining your technique.
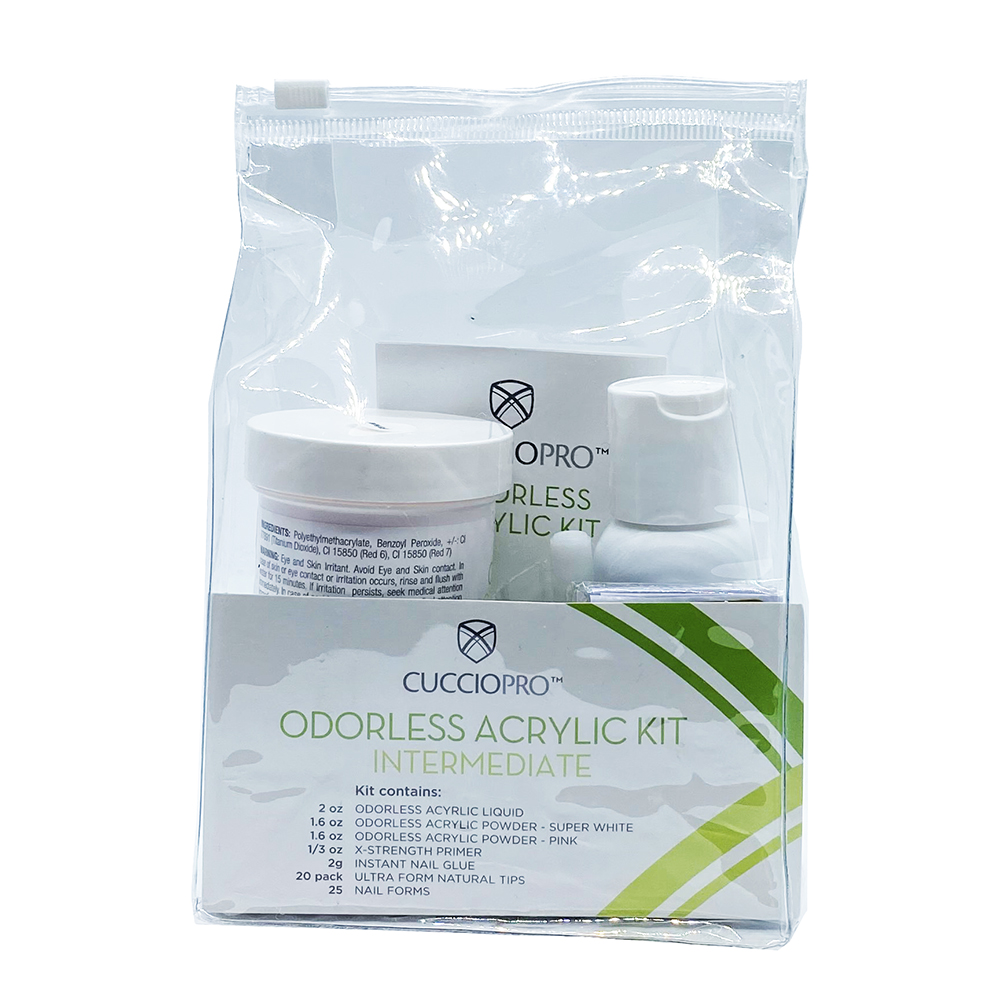
- Cuccio Odorless Acrylic Kit – Features a low-odor formula, ensuring a comfortable environment for both technicians and clients, especially for salons focused on client experience.
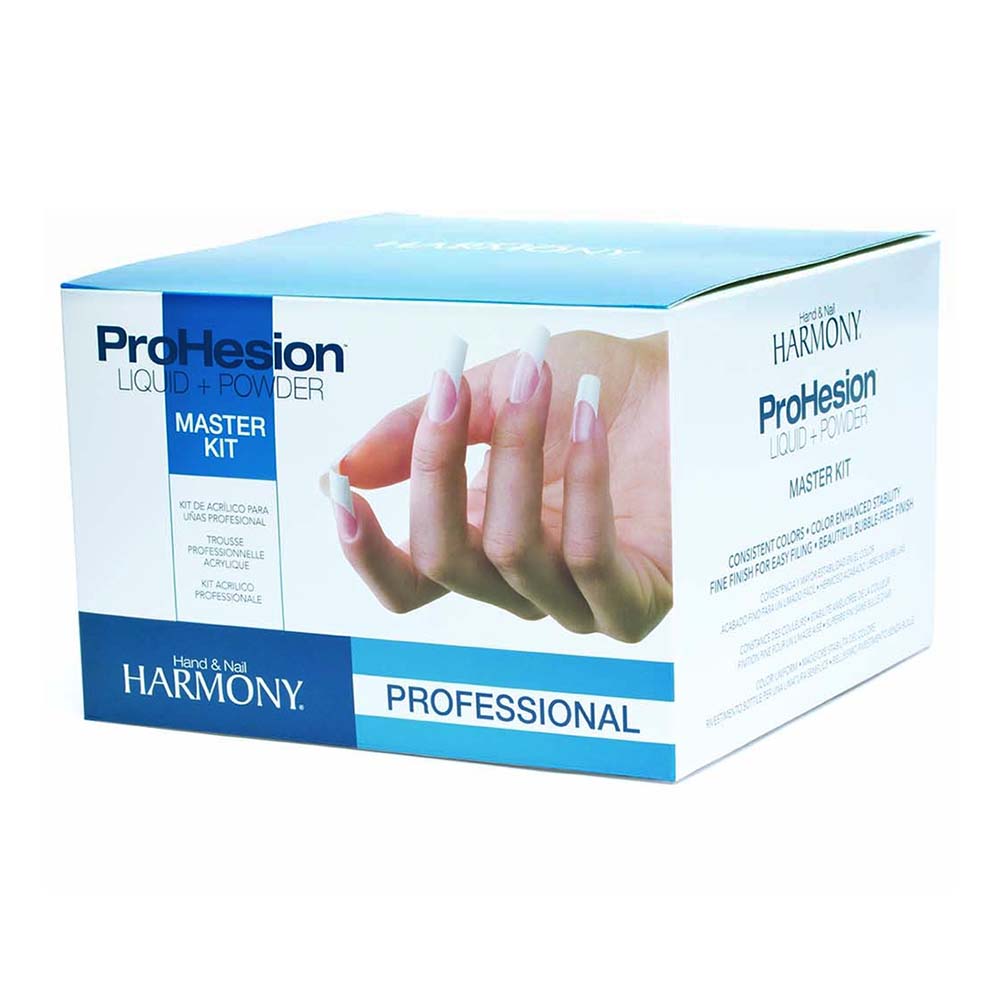
- ProHension Liquid & Powder Professional Master Kit – A full-scale professional kit, suitable for busy salons and providing everything necessary for flawless acrylic nail applications.
Choosing the Right Nail Shape for Acrylic Nails
The shape of acrylic nails plays a major role in both aesthetics and functionality. Picking the right shape ensures the nails are durable, comfortable, and suitable for your client’s daily routine. The perfect balance of style and practicality can keep clients satisfied and coming back for more.
Popular Acrylic Nail Shapes
- Squoval Acrylic Nails – A combination of square and oval shapes with soft corners. Squoval nails are highly versatile, durable, and perfect for everyday use while still looking elegant.
- Square Acrylic Nails – Straight edges with a flat tip provide strength and durability. Ideal for clients who are active, type frequently, or use their hands daily.
- Round Acrylic Nails – Gently curved tips mimic natural nails, making them perfect for low-maintenance everyday wear. Great for clients who want an elegant yet practical style.
- Oval Acrylic Nails – Rounded edges that elongate the fingers. This shape is versatile, stylish, and functional for both work and casual life.
- Almond Acrylic Nails – Tapered sides with a soft, rounded tip. Almond nails are fashionable and manageable, ideal for clients who want a sleek look without sacrificing practicality.
- Coffin/Ballerina Acrylic Nails – Tapered with a flat tip, these nails are trendy and statement-making. Suitable for clients who enjoy longer nails and bold designs but can maintain them with proper care.
- Stiletto Acrylic Nails – Pointed tips for dramatic, fashion-forward looks. Best for clients seeking bold styles; may require more care for daily activities.
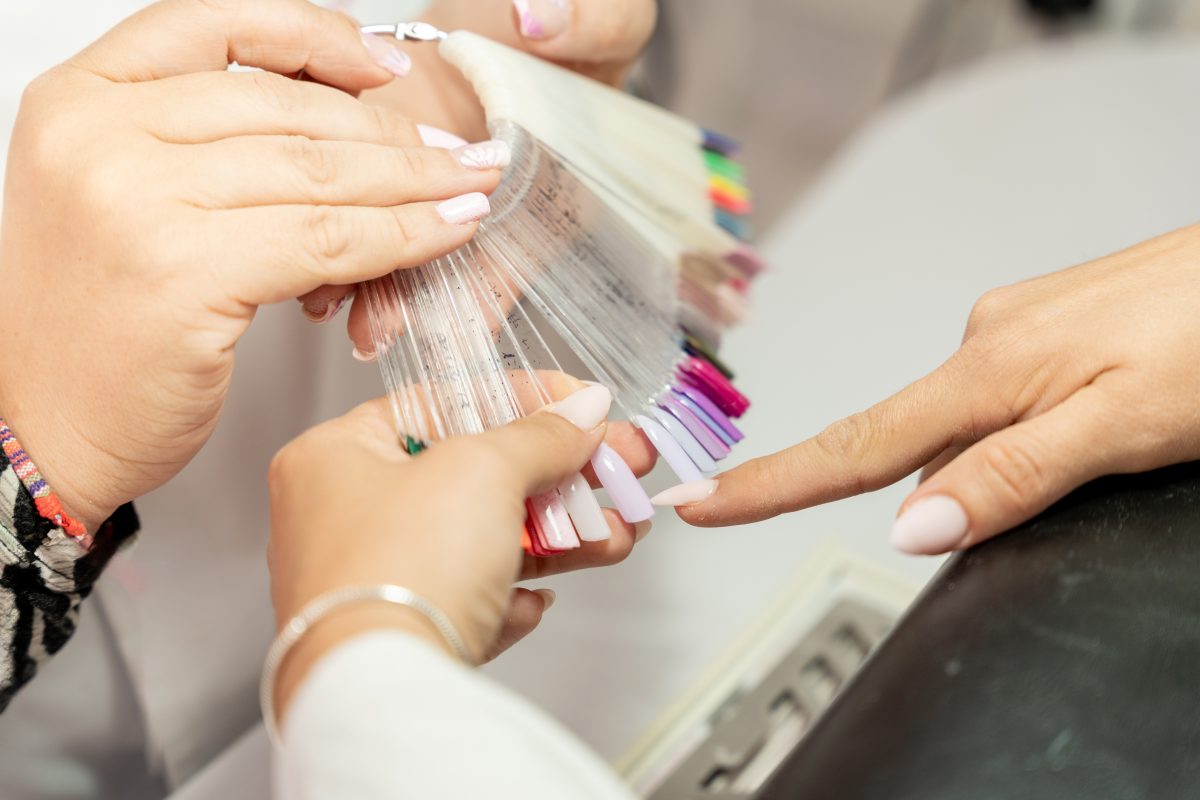
How to Choose the Right Shape for Your Clients
When deciding on a nail shape for acrylic nails, consider the client’s lifestyle, hand shape, and nail length preferences:
- Daily Activities – Clients who type, cook, or work with their hands should prioritize durable shapes that maintain elegance without interfering with their lifestyle.
- Active or Hands-On Clients – Square or squoval shapes provide maximum durability and reduce breakage.
- Short Nails – Round or oval shapes visually elongate fingers while remaining practical for daily tasks.
- Longer Nails – Almond or coffin shapes are ideal for a stylish, elegant look for clients who can manage longer acrylics.
- Hand Size and Shape – Wider nail beds work well with square or squoval shapes, while slender fingers suit almond or stiletto styles.
Extra Tips
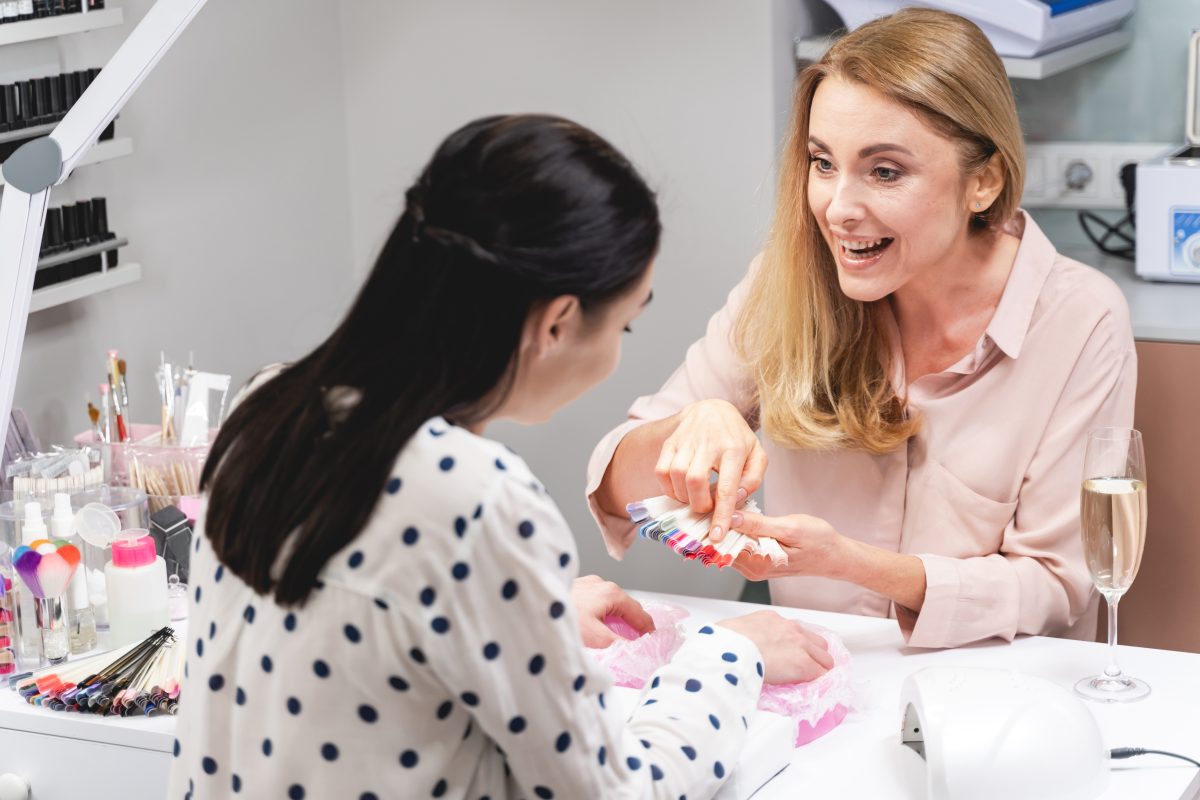
- Always consult with clients about their lifestyle before choosing a nail shape.
- Use high-quality acrylic powders and liquids to ensure the nails maintain strength, no matter the shape.
- Combine nail shapes with trendy colors or subtle designs for a customized, modern look.
- Educate clients on maintenance and refills, especially for longer shapes like coffin or stiletto, to prolong durability.
FAQs
Proper nail preparation is crucial for durable acrylic nails. Start by sanitizing hands, removing old polish, pushing back cuticles, lightly buffing the nail surface, and applying a dehydrator and primer. This prevents lifting and ensures long-lasting results.
Lifting is commonly caused by skipping prep steps, applying acrylic to oily or wet nails, or using expired products. Always clean, buff, and prime nails, and work with high-quality powders and monomers to reduce lifting.
Acrylic nails typically last 3–4 weeks with proper application and regular salon fills. Educating clients on home care, avoiding nail trauma, and scheduling maintenance ensures maximum longevity.
Yes. Nail forms or tips can extend short nails, while thin or weak nails benefit from layered acrylic applications. Proper prep and using bonding agents like OPI Bondex or Bondaid strengthen adhesion and durability.
Lightly buff uneven areas and apply a thin layer of acrylic to repair cracks. Ensure consistent bead size and proper curing for durable, smooth results. Avoid over-filing the natural nail to maintain strength.
If applied or removed incorrectly, acrylics can weaken natural nails. Always educate clients, avoid over-filing, and use proper removal techniques to protect nail health. Products like CND NailFresh can help maintain nail strength.
Yes. Cuccio Odorless Acrylic Kit and MMA-free sculpting liquids like KDS Xtention+ NO MMA provide professional results with minimal odor, making them ideal for sensitive clients or smaller salon spaces.