

The secret to a long-lasting, flawless manicure lies in the essential base coat, available in various types to suit different needs.
This foundational layer not only preps and smooths the nail surface but also enhances polish adhesion, preventing chipping and peeling. Furthermore, by acting as a barrier, it protects natural nails from staining and damage, ensuring healthier nails over time. With the right base coat, every manicure achieves a professional finish, maintaining vibrant color and durability. Ultimately, transform your nail care routine with this indispensable step, and watch your manicures reach new heights of perfection.
The Variety of Base Coat Types
Before delving into the various types of base coats, it’s important to understand their crucial role in nail care and polish application. Base coats serve as the foundation for a flawless manicure, providing a smooth surface, enhancing polish adhesion, and offering protection to the natural nails. Moreover, different base coat types are designed to address specific nail concerns, from filling ridges and strengthening weak nails to preventing stains and promoting hydration. By exploring the unique features and benefits of each type, you can select the most suitable base coat for your needs and ensure a long-lasting, professional-quality manicure.
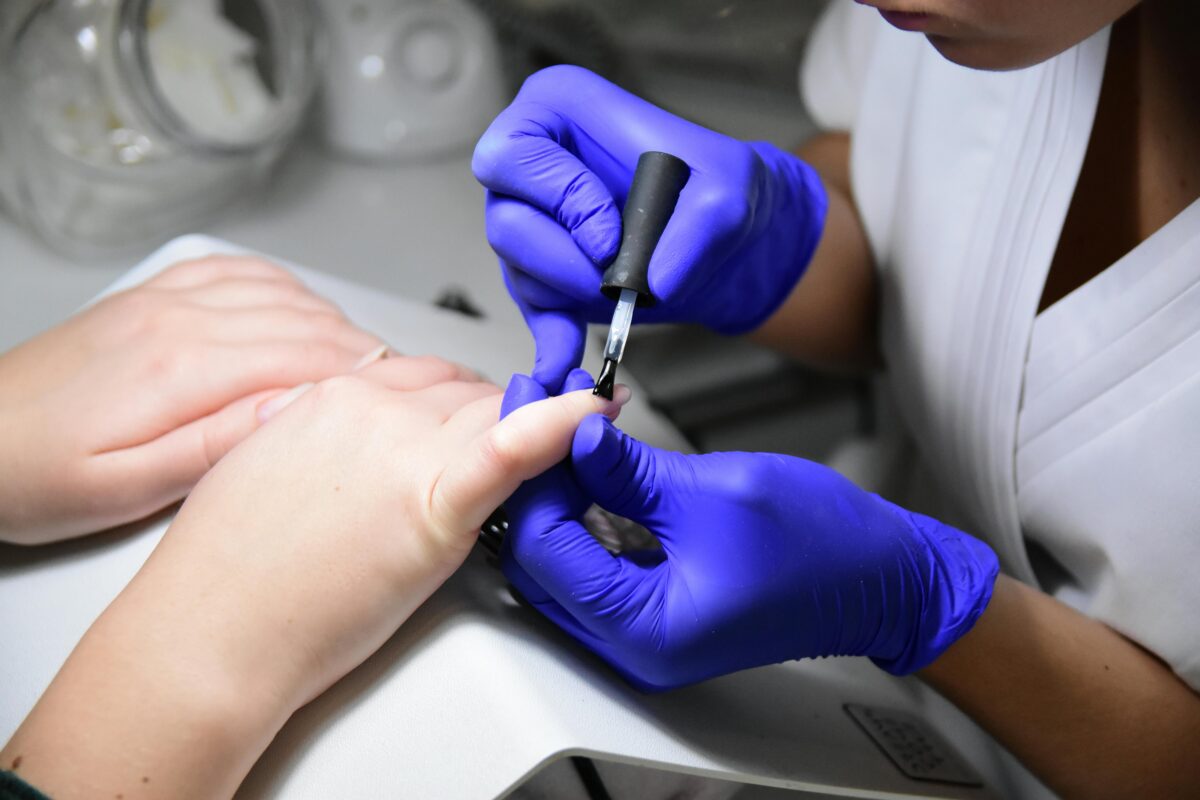

Regular Base Coat
- Purpose:
- Smooth Surface: A regular base coat provides a smooth canvas for nail polish application. It evens out ridges, bumps, and imperfections on your nails, ensuring a flawless finish.
- Enhanced Adhesion: Think of it as the glue that bonds your colored polish to your nails. Base coats improve adhesion, preventing premature chipping and peeling.
- Features:
- Stain Prevention: Dark or vibrant nail colors can stain your natural nails. Base coats act as a protective barrier, preventing unsightly discoloration.
- Nail Health: Some base coats contain nourishing ingredients like vitamins and proteins, promoting healthier nails over time.
- Color Intensity: A base coat can enhance the vibrancy of your nail polish color, especially with sheer or pastel shades.
Application Tips:
- Clean Nails: Start with clean, dry nails. Remove any old polish and gently push back cuticles.
- Thin Layer: Apply a thin, even layer of base coat. Avoid thick applications to prevent uneven drying.
- Dry Completely: Allow the base coat to dry fully before applying colored polish.
Ridge-Filling Base Coat
- Purpose:
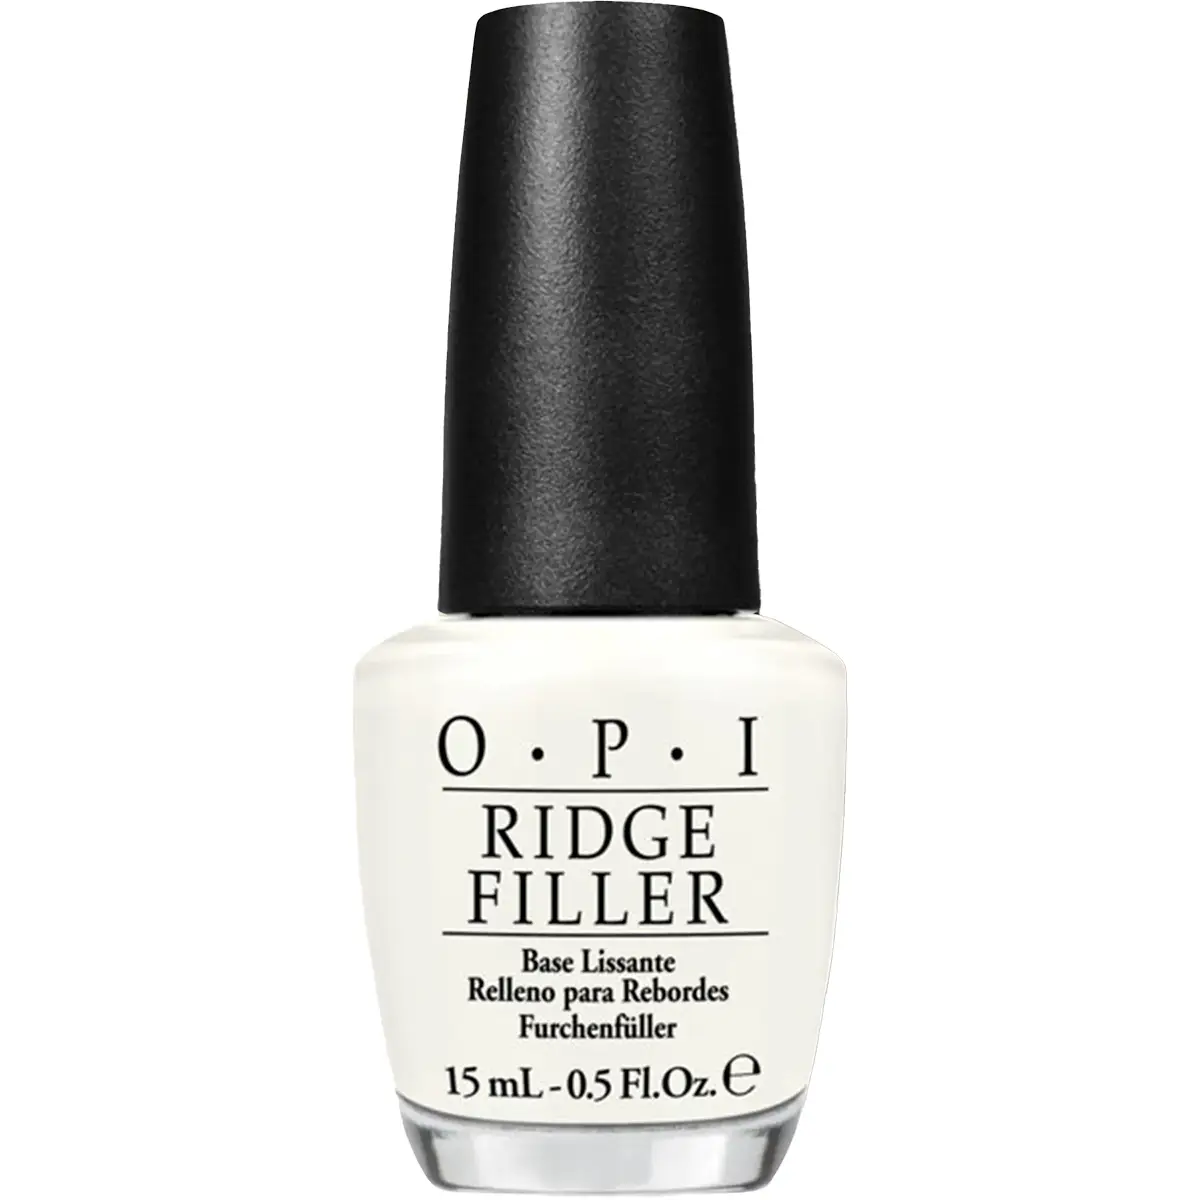
- Smooth Out Ridges: If your nails have ridges, whether due to aging or natural texture, ridge-filling base coats come to the rescue. They create an even foundation, minimizing imperfections.
- Uniform Surface: Think of them as nail spackling—filling in the gaps and creating a seamless canvas for your colored polish.
- Features:
- Filling Agents: Ridge-filling base coats contain specialized ingredients like silica, nylon, or other polymers. These agents smooth out the nail surface, evening out any irregularities.
- Matte Finish: Unlike regular base coats, ridge-fillers often dry to a matte or satin finish, ensuring your polish adheres flawlessly.
- Application Tips:
- Thin Application: Apply a thin layer to avoid buildup. Focus on the ridged areas.
- Buffing (Optional): For deeper ridges, gently buff your nails before applying the base coat. This enhances the filling effect.
Strengthening Base Coat
- Purpose:
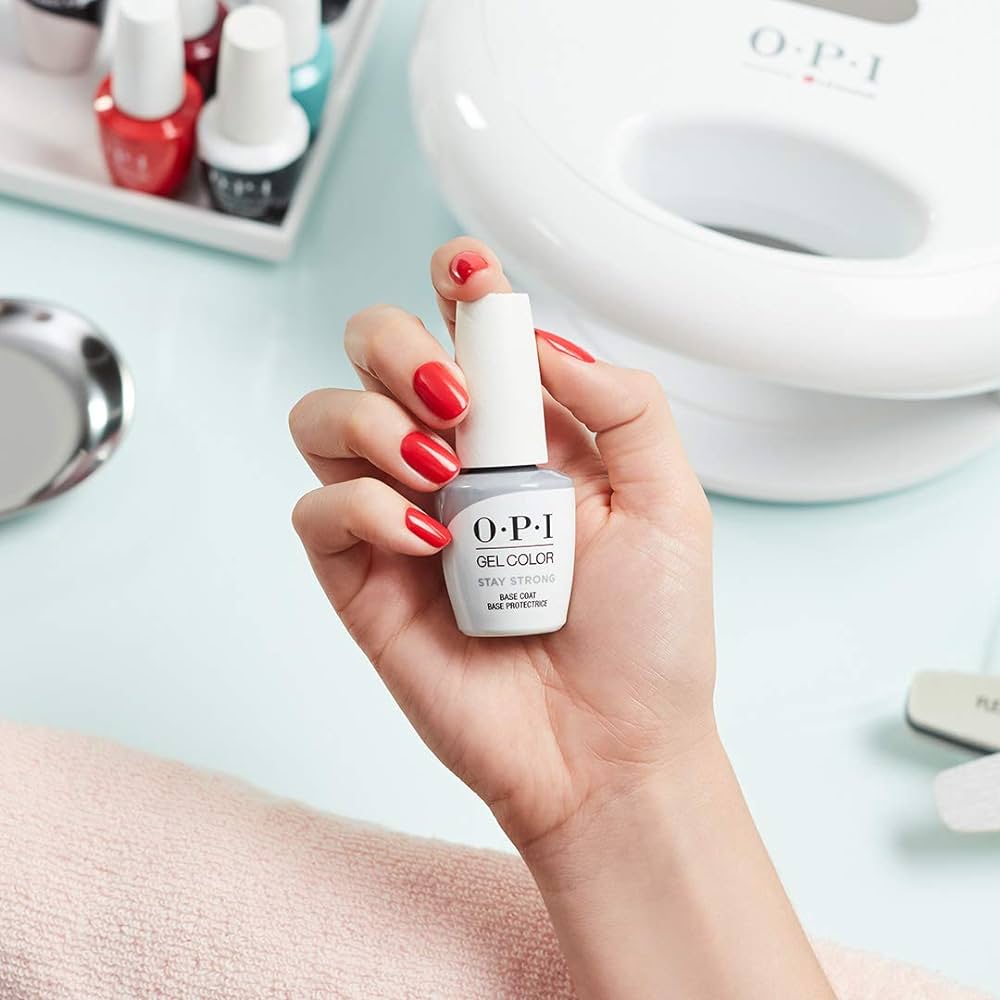
- Fortify Weak Nails: If your nails tend to be brittle, prone to splitting, or easily damaged, strengthening base coats are your solution. They provide a protective shield, preventing breakage and promoting resilience.
- Nail Health: Beyond aesthetics, these base coats focus on long-term nail health. They’re like a vitamin boost for your fingertips.
- Features:
- Vitamins and Minerals: Strengthening base coats often contain essential nutrients like calcium, keratin, or vitamins (such as Biotin or Vitamin E). These ingredients nourish and reinforce your nails from within.
- Bonding Agents: They enhance the bond between your natural nails and colored polish, ensuring longevity.
- Application Tips:
- Consistent Use: Apply regularly to see the best results. Think of it as a nail care ritual.
- Thin Layers: As always, thin coats ensure even coverage without buildup.
Hydrating Base Coat
- Purpose:
- Hydration Boost: Hydrating base coats are specifically designed for dry, dehydrated nails. They infuse moisture, combating brittleness and flakiness.
- Revitalization: If your nails are damaged due to frequent polish changes or exposure to harsh elements, these base coats provide much-needed rejuvenation.
- Features:
- Moisturizing Ingredients: Look for aloe vera, vitamin E or other hydrating components. These soothe and replenish your nails.
- Barrier Function: Hydrating base coats create a protective barrier, locking in moisture and preventing further dryness.
- Application Tips:
- Consistent Use: Apply regularly, especially if you frequently wear nail polish.
- Thin Layers: As always, thin coats ensure even coverage without excess buildup.

Peel-Off Base Coat
- Purpose:
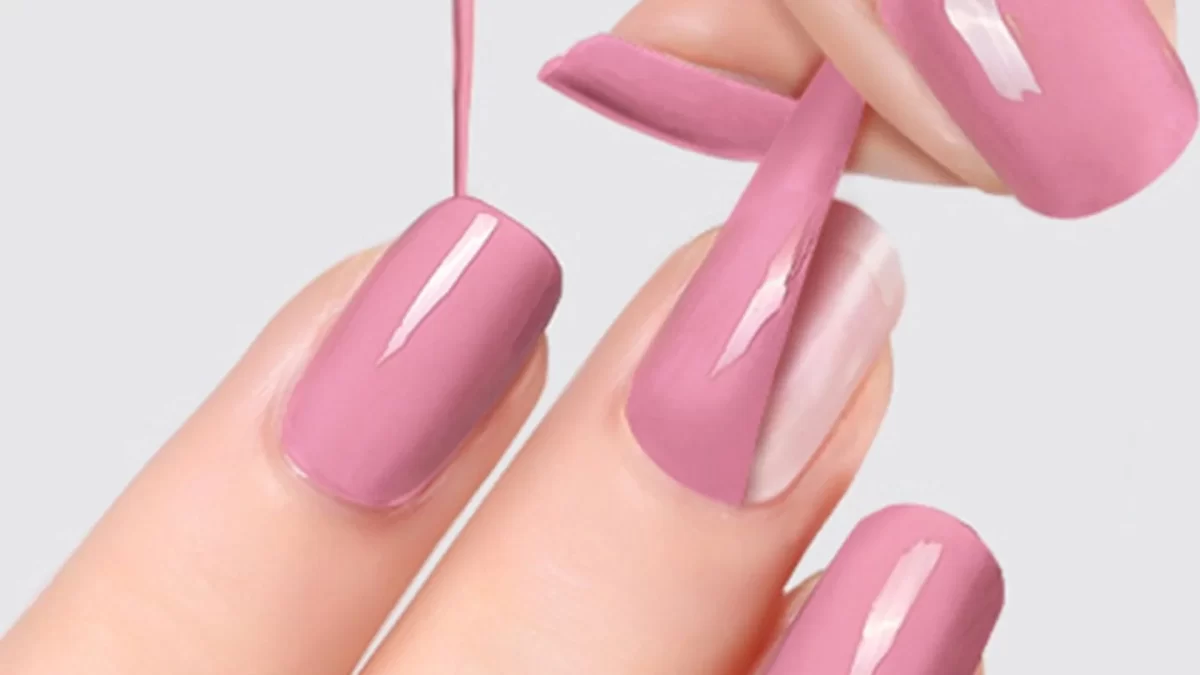
- Easy Removal: Peel-off base coats allow you to bid farewell to nail polish without the need for acetone or harsh removers. Simply peel them off like a gentle sticker.
- Convenience: Ideal for those who change nail colors frequently or want a hassle-free removal process.
- Features:
- Peelable Film: These base coats create a thin, flexible film over your nails. When it’s time to switch colors, just lift the edges and peel away.
- Glitter and Special Effects: Because they don’t require soaking or scrubbing, peel-off base coats are perfect for glitter polishes or intricate nail art.
- Application Tips:
- Thin Layer: Apply a thin, even coat. Thicker layers may not peel off as cleanly.
- Edge Sealing: Ensure the edges are well-covered to facilitate easy removal.
Stain-Blocking Base Coat
- Purpose:
- Stain Prevention: Dark or bold nail colors can leave unsightly stains on your natural nails. Stain-blocking base coats act as a barrier, preventing these pigments from seeping into your nail plate.
- Preserve Nail Health: By safeguarding against staining, they maintain the integrity of your nails.
- Features:
- Barrier Creation: These base coats create an invisible shield over your nails, blocking direct contact with the colored polish.
- Transparency: Despite their protective role, stain-blocking base coats remain clear, allowing your chosen polish color to shine through.
- Application Tips:
- Thin Layer: Apply a thin coat to avoid bulkiness.
- Edge Coverage: Ensure the entire nail surface, including the edges, is covered for maximum protection.
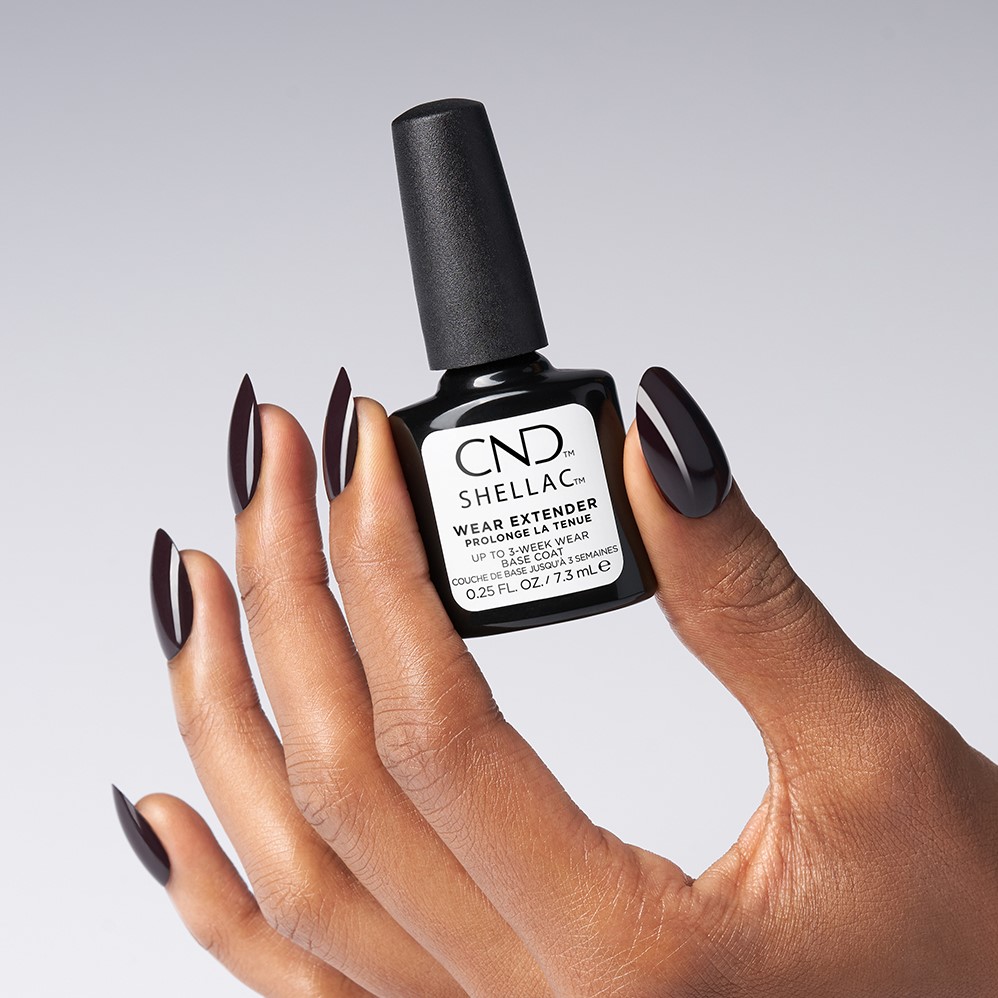
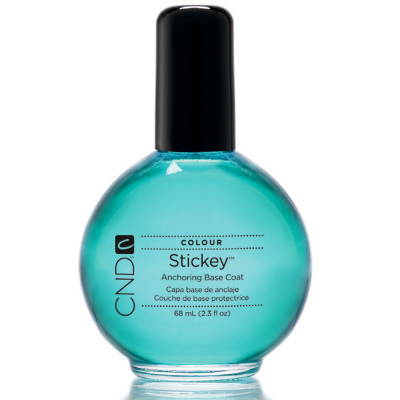
Adhesive Base Coat
- Purpose:
- Enhanced Adhesion: Adhesive base coats are like Velcro for your nails. Their primary mission? To grip onto your colored polish with unwavering determination, ensuring it stays in place.
- Longevity: By creating a strong bond, they extend the life of your manicure, preventing those frustrating chips and flakes.
- Features:
- Formulation: These base coats are specially formulated to enhance adhesion. They contain gripping agents that cling to both your natural nails and the polish.
- Smooth Surface: Adhesive base coats create a smooth canvas, allowing your colored polish to adhere evenly without bumps or ridges.
- Application Tips:
- Thin and Even: Apply a thin, even layer. Too much can lead to uneven drying or excess buildup.
- Allow Drying Time: Let the adhesive base coat dry completely before adding your favorite polish color.
Bonding Base Coat
- Purpose:
- Protective Barrier: Bonding base coats create a protective barrier on your nails, preventing fungal infections from taking root.
- Nail Health: Beyond prevention, they contribute to the overall well-being of your nails by maintaining their integrity.
- Features:
- Adhesion Properties: Bonding base coats contain special ingredients that promote adhesion between the nail surface and the polish. This helps prevent chipping and ensures a longer-lasting manicure.
- Smooth Surface: By filling in minor imperfections and creating a smooth canvas, bonding base coats allow polish to glide on evenly.
- Application Tips:
- Clean Nails: Start with clean, dry nails to ensure optimal adhesion.
- Thin Application: Apply a thin layer of bonding base coat to avoid excess thickness.
- Allow to Dry: Let the base coat dry completely before applying colored polish.


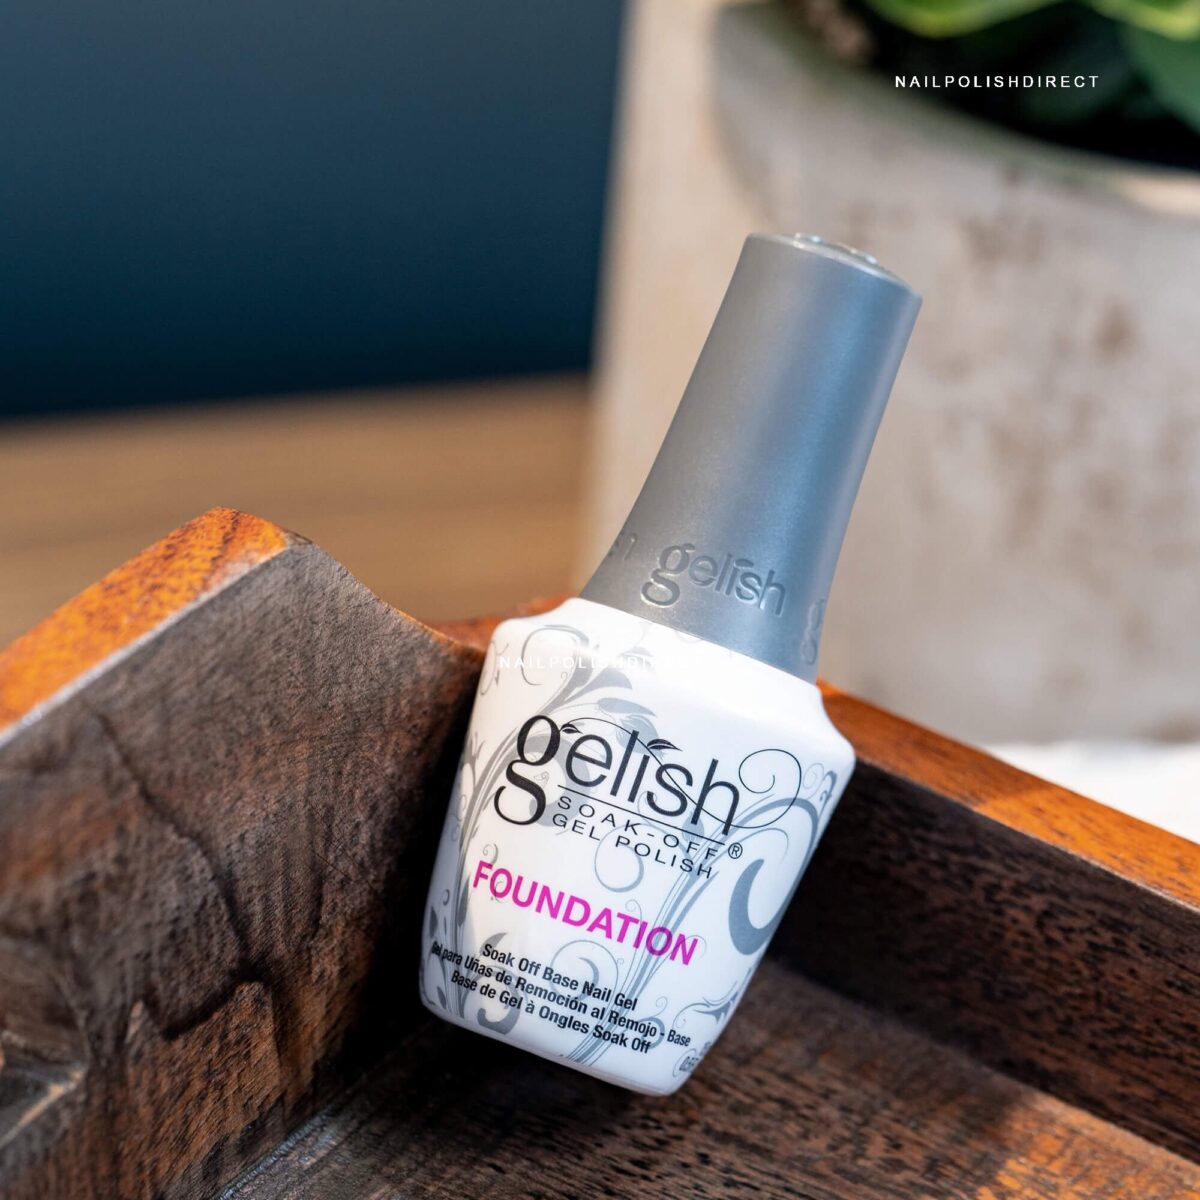
Gel Base Coat
- Purpose:
- Adhesion Enhancement: Gel base coats serve as the ultimate adhesive. Their primary mission is to create a strong bond between your natural nails and the gel polish.
- Foundation: Think of them as the sturdy groundwork for your gel manicure—a canvas that ensures the subsequent layers adhere flawlessly.
- Features:
- Curing Requirement: Unlike regular base coats, gel base coats require curing under a UV or LED lamp. This process transforms them into a durable, chip-resistant layer.
- Smooth Application: Gel base coats provide a smooth surface, allowing gel polish to glide on effortlessly without streaks or bumps.
- Benefits:
- Extend the life of your manicure. Say goodbye to premature chipping!
- Help prevent gel polish from lifting or peeling off prematurely.
- Contribute to that salon-quality, glossy gel look we all love.
Application Tips:
- Clean Nails: Start with clean, dry nails. Remove any old polish and gently push back cuticles.
- Thin Layer: Apply a thin, even coat of gel base coat. Too much product can lead to uneven curing and excess buildup.
- Edge Sealing: Ensure the edges of your nails are well-covered. This prevents premature lifting and chipping.
- Curing Process: Cure the gel base coat under a UV or LED lamp according to the manufacturer’s instructions. Typically, this takes around 30 seconds to 2 minutes.
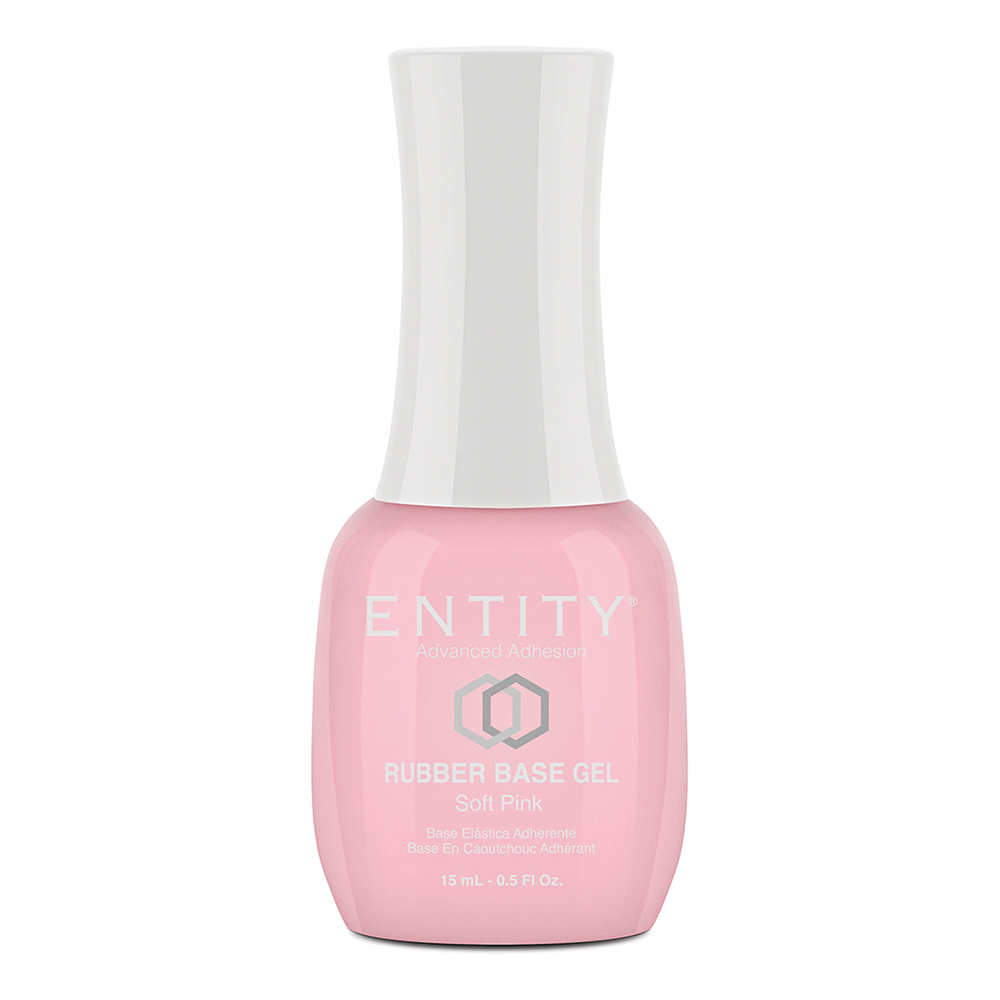
Rubberized Base Coat
- Purpose:
- Enhanced Durability: Rubberized base coats provide superior durability, helping your manicure withstand daily wear and tear.
- Flexibility: Their unique formula allows the polish to bend and flex with your natural nails, reducing the risk of chipping or cracking.
- Features:
- Elasticity: The rubberized resin in these base coats imparts elasticity, making them ideal for nail wraps, gels, and intricate nail art.
- Adhesion: They grip the nail surface effectively, ensuring longer-lasting polish application.
- Application Tips:
- Thin Layers: Apply thin coats to maintain flexibility without bulk.
- Allow to Dry: Let the base coat fully dry before proceeding with colored polish or nail art.

Choose the Right Base Coat
Consider Your Client’s Nail Type
- Healthy Nails:
- Regular Base Coat: A standard option that provides a smooth surface for nail polish application and protects against staining.
- Ridge-Prone Nails:
- Ridge-Filling Base Coat: Perfect for filling in ridges and creating an even canvas for polish application.
- Weak or Brittle Nails:
- Strengthening Base Coat: Look for base coats that contain strengthening agents like calcium or keratin to help fortify and protect nails.
- Dry or Damaged Nails:
- Hydrating Base Coat: Opt for a base coat that includes moisturizing ingredients such as aloe vera or vitamin E to nourish and hydrate nails.
Address Specific Nail Concerns
- Staining from Dark Polishes:
- Stain-Blocking Base Coat: Use a base coat specifically designed to prevent dark or highly pigmented polishes from staining natural nails.
- Frequent Polish Changes:
- Peel-Off Base Coat: Ideal for clients who change their nail polish frequently. This type of base coat allows for easy removal without the need for harsh acetone.
- Long-Lasting Manicures:
- Adhesive Base Coat: Enhances the adhesion of nail polish, making the manicure last longer and reducing chipping.
Desired Outcome
- Professional Gel Manicure:
- Gel Base Coat: Essential for gel polish applications, providing a strong foundation that requires curing under a UV or LED lamp.
- Nail Health and Protection:
- Anti-Fungal Base Coat: Protects against fungal infections and promotes overall nail health.

Application Tips and Tricks
Techniques for Applying These Coats Evenly
- Prep the Nails:
- Clean and Shape: Start by cleaning the nails thoroughly and shaping them with a file. Push back the cuticles gently.
- Buff the Surface: Lightly buff the nail surface to remove any oils and smooth out any ridges or imperfections.
- Apply Thin Layers:
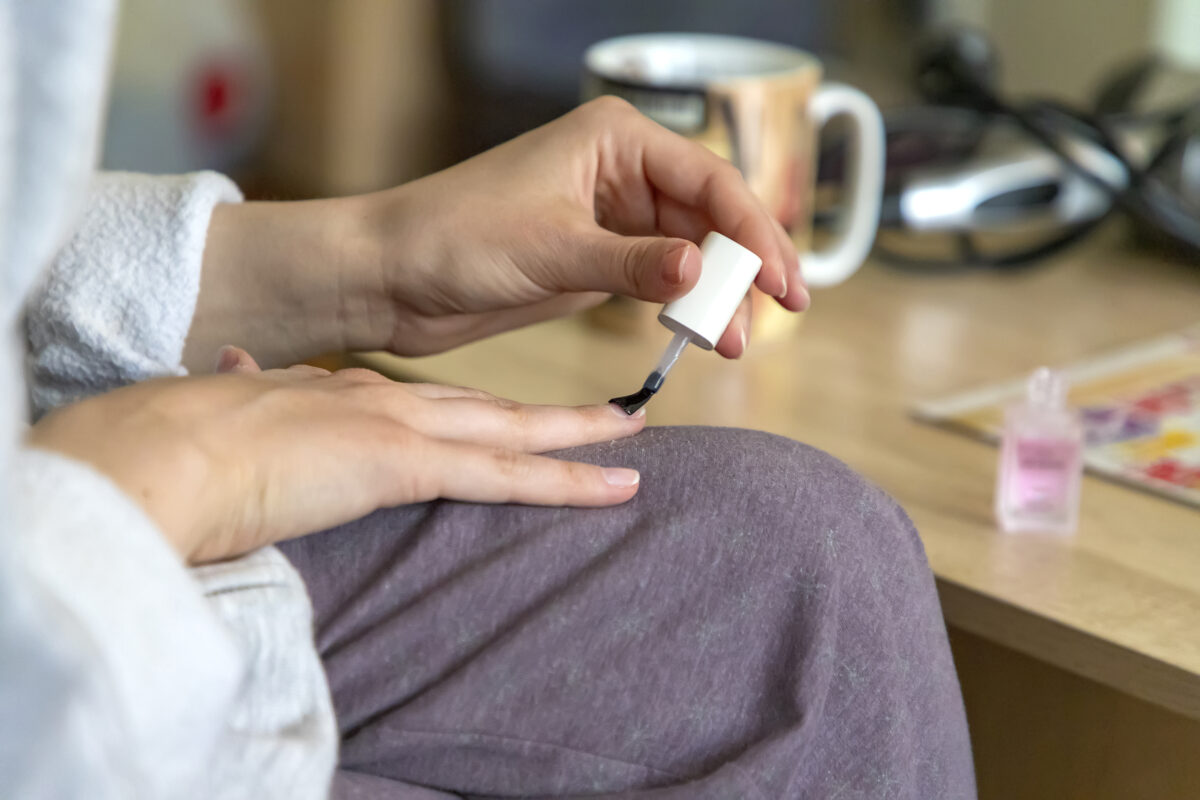
- Less is More: Apply a thin, even layer of base coat to avoid pooling and unevenness. This helps the polish adhere better and prevents a thick, clumpy appearance.
- Three-Stroke Method: Use the three-stroke method for application. Start with a stroke down the middle of the nail, then one on each side.
- Cap the Free Edge:
- Seal the Tips: Make sure to swipe the base coat across the free edge of the nail. This technique helps to seal the nail and prevent chipping.
- Allow Proper Drying Time:
- Dry Completely: Allow the base coat to dry completely before applying nail polish. This ensures a smooth and even application of the color.
Common Mistakes to Avoid
- Skipping Nail Prep:
- Importance of Prep: Skipping proper nail prep can lead to poor adhesion and a shorter-lasting manicure. Always clean, shape, and buff the nails before applying a base coat.
- Applying Too Thick a Layer:
- Thin is Key: Applying a thick layer of base coat can cause bubbles, unevenness, and a longer drying time. Thin, even layers are essential for a professional finish.
- Neglecting the Free Edge:
- Seal the Edges: Failing to cap the free edge can result in premature chipping. Always remember to swipe the base coat across the tips of the nails.
- Rushing the Drying Process:
- Patience Pays Off: Not allowing the base coat to dry completely before applying nail polish can lead to smudging and uneven application. Patience is key for a flawless manicure.
- Using the Wrong Base Coat:
- Choose Wisely: Using a base coat that isn’t suited for the type of nail polish or the condition of the nails can compromise the manicure. Select the right base coat for the best results.

Base Coat Myths and Facts
- Myth: “Base coats are unnecessary; I can skip them.”
- Fact: Base coats serve essential purposes. They create a smooth surface, prevent staining, enhance adhesion, and promote nail health. Skipping them can compromise your manicure’s longevity.
- Myth: “All base coats are the same.”
- Fact: Base coats come in various formulations (regular, ridge-filling, strengthening, etc.). Choose one based on your specific needs—whether it’s ridge-smoothing, stain-blocking, or gel-compatible.
- Myth: “Base coats make my nails yellow.”
- Fact: Quality base coats don’t cause yellowing. In fact, they prevent staining from dark polishes. If your nails turn yellow, it’s likely due to other factors (like smoking or aging).
- Myth: “I can use top coat as a base coat.”
- Fact: While similar, top coats and base coats have distinct purposes. Top coats add shine and protect the color, while base coats create a foundation for polish adhesion.
- Myth: “Base coats slow down drying time.”
- Fact: Properly applied base coats dry quickly. They shouldn’t significantly affect overall drying time.
FAQ
Base coat types include regular base coats, ridge-filling base coats, strengthening base coats, hydrating base coats, peel-off base coats, stain-blocking base coats, adhesive base coats, and more. Each type serves specific purposes such as smoothing ridges, strengthening nails, or preventing staining.
Consider your nail type (healthy, weak, brittle), specific concerns (ridges, staining), and desired outcomes (longevity, nail health). Different base coat types offer unique benefits tailored to address these needs effectively.
While similar, top coats and base coats have distinct roles. Top coats add shine and protect the color, while base coats create a foundation for polish adhesion. It’s best to use them as intended.
Properly applied base coats dry quickly and shouldn’t significantly affect overall drying time.
For wholesale purchases of different base coat types in Canada, you can visit the u003ca href=u0022https://www.nailsrus.ca/u0022u003eNails R USu003c/au003e website. They offer a wide range of professional-grade nail products, including various base coat types, tailored for nail salons and professionals.