
Nail Airbrush Techniques
Why stick with the ordinary when a nail airbrush lets you soar? It’s swift, precise, and stunningly wow-worthy – it’s the art that keeps clients returning!
Imagine transforming a simple manicure into a stunning work of art with seamless gradients, intricate designs, and vibrant colors that pop. With a nail airbrush, you can effortlessly create a celestial galaxy on one client’s nails and a whimsical floral dream on another’s. Clients crave uniqueness and originality, and with this tool, you can consistently deliver personalized, breathtaking designs that set you apart as a top-tier nail artist. With the endless creative possibilities you can elevate your nail game to new heights, ensuring every client leaves with nails that are truly extraordinary.
Nail Airbrush Overview
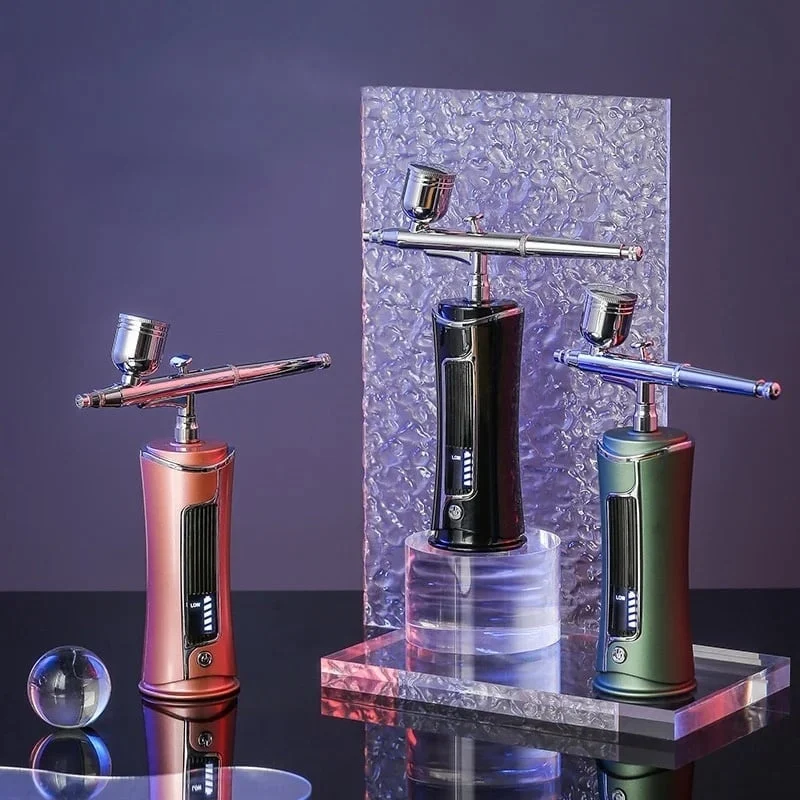
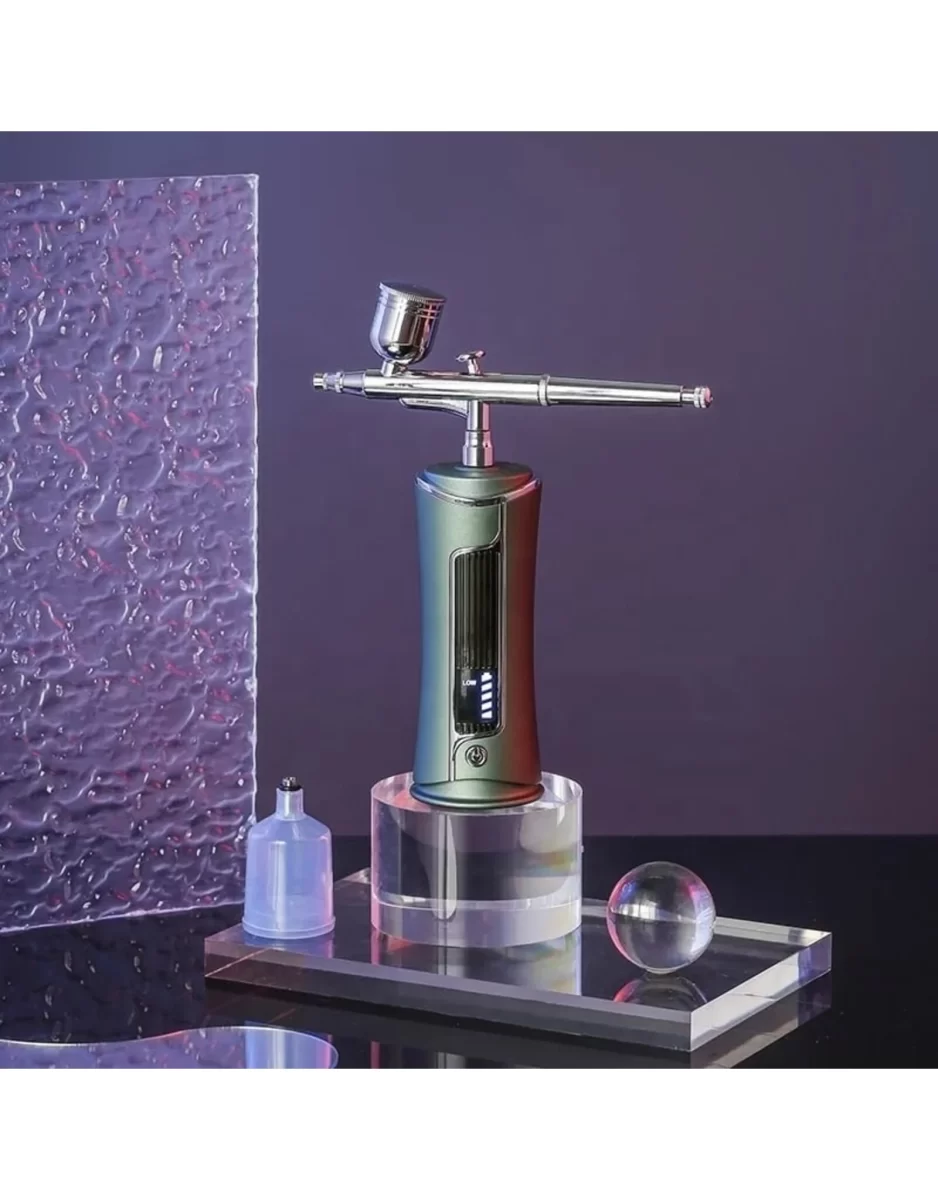
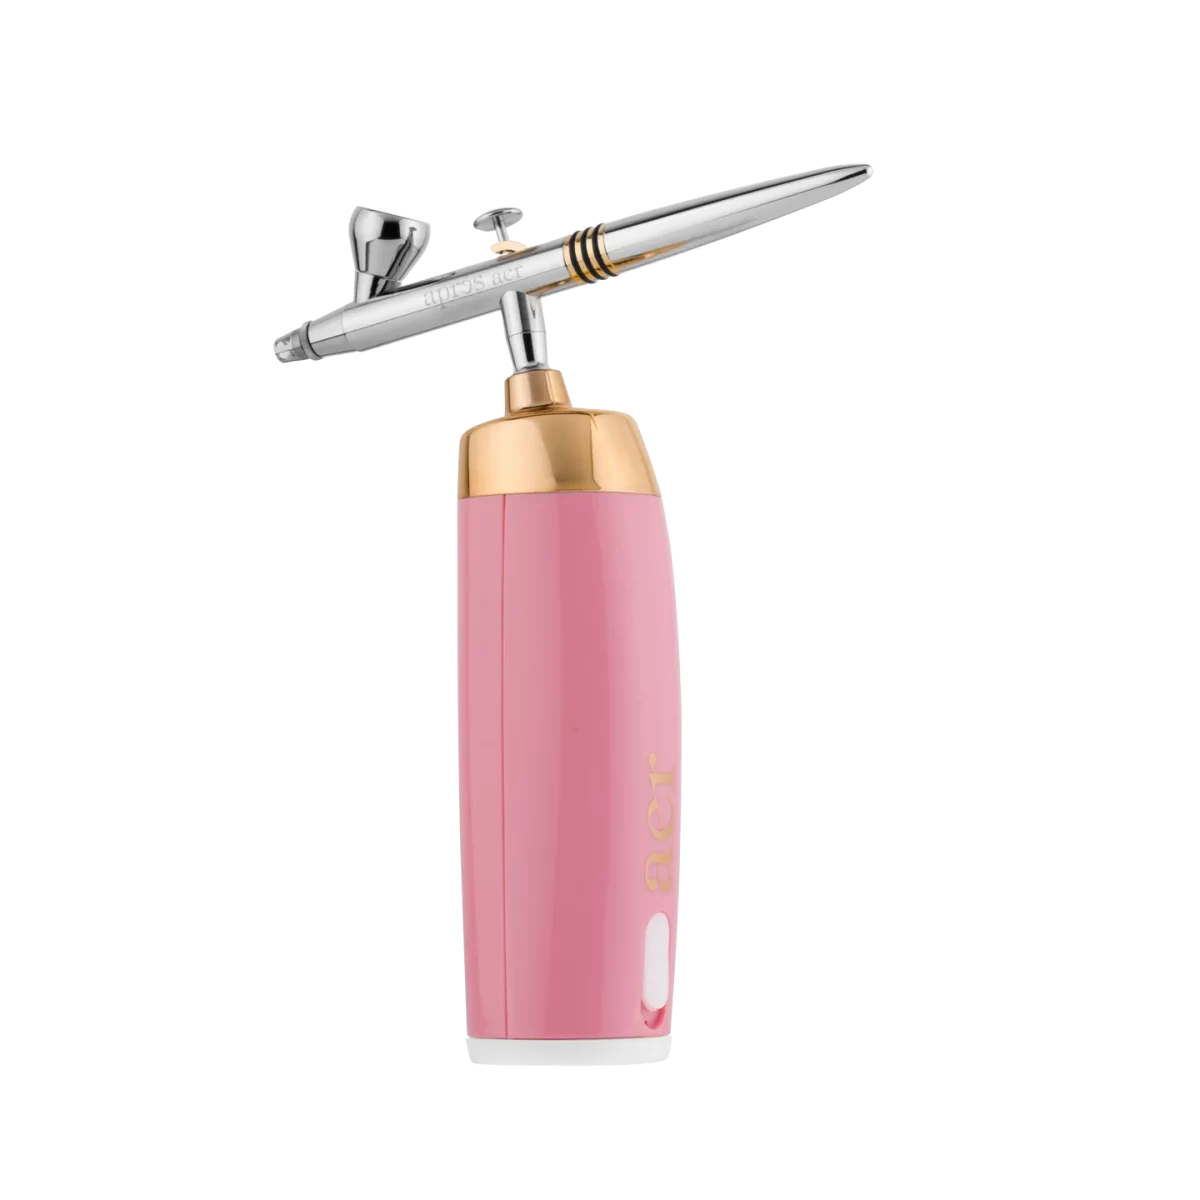
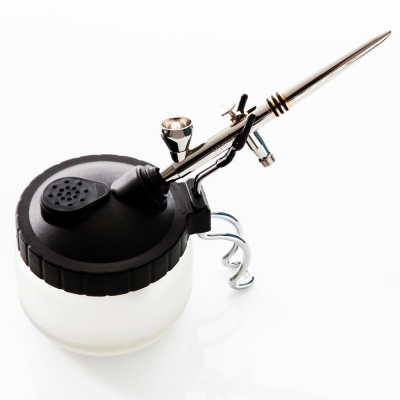
At the heart of modern nail artistry lies the nail airbrush, a tool that has revolutionized the way professionals adorn nails. Essentially, it is an ingenious device that applies finely misted layers of polish, creating designs that are as intricate as they are smooth. Notably, the airbrush gun, which is the core component, holds the paint and sprays it with precision onto the nails. Additionally, the compressor plays a critical role, providing the necessary airflow to propel the paint from the gun. Moreover, the hose serves as the vital link, connecting the gun to the compressor and ensuring a steady flow. Importantly, the paints used are specially formulated for airbrushing, offering a wide range of colors and finishes to unleash creativity. Consequently, nail professionals can achieve controlled patterns and effects that were once thought impossible, making the nail airbrush an indispensable tool in any salon.
Airbrush Nail Art Steps
- Preparation:
- Clean the Nails: Ensure the nails are clean and free from oils and debris.
- Base Coat: Apply a base coat to protect the natural nail and create a smooth surface for the airbrush paint.
- Setting Up:
- Assemble the Airbrush: Connect the airbrush gun to the compressor via the hose.
- Load the Paint: Pour the nail paint into the airbrush gun’s paint cup. This can be done using pre-mixed airbrush nail paints or custom-mixed colors.
- Applying the Paint:
- Test Spray: Before applying to the nail, test the spray on a piece of paper to ensure the paint is flowing smoothly and the desired pattern is achieved.
- Spray Technique: Hold the airbrush gun at a consistent distance from the nail (usually 6-12 inches) and spray in light, even coats. Move the gun steadily to avoid pooling or streaking.
- Layering: For more intricate designs, layer different colors and use stencils or masking techniques to create patterns like gradients, ombre effects, or detailed images.
- Finishing:
- Drying: Allow each layer of paint to dry before applying the next. Use a fan or air dryer to speed up the drying process if necessary.
- Top Coat: Once the design is complete and fully dry, apply a top coat to seal and protect the artwork, ensuring longevity and shine.
Nail Airbrush Benefits
- Achieve intricate designs with fine lines and detailed patterns that are difficult with traditional brushes.
- Airbrushing provides an even coat of paint, reducing the risk of streaks and ensuring a smooth finish.
- Airbrushing a full set of nails takes less time than traditional polishing, and the drying time is nearly instantaneous.
- Mix and create custom colors for clients, setting your services apart from others.
- A few drops of paint can cover all ten nails, making it an economical choice for salons.
- Suitable for both real and acrylic nails, and can be used to create a variety of textures and effects.
- Quality airbrush applications can last up to two weeks, comparable to regular nail polish.
Tips for Effective Airbrushing
- Consistent practice is key to mastering the control and consistency of the airbrush spray.
- Always clean the airbrush thoroughly after each use to prevent clogging and ensure optimal performance for future applications.
- Invest in high-quality, airbrush-specific nail paints to achieve the best results and vibrant, long-lasting designs.
- Hold the airbrush at the correct angle and distance from the nail for precise application and to avoid overspray.
- Utilize stencils and masks to create sharp edges and intricate designs with ease.
- Build up colors gradually with thin layers to avoid drips and to allow for more complex artistry.
- Always do a test spray on a piece of paper or a practice nail to check the flow and consistency before applying to the actual nails.
- Learn to adjust the air pressure according to the type of design you’re creating; lower for detail work and higher for broader coverage.
Top Nail Airbrush Brands
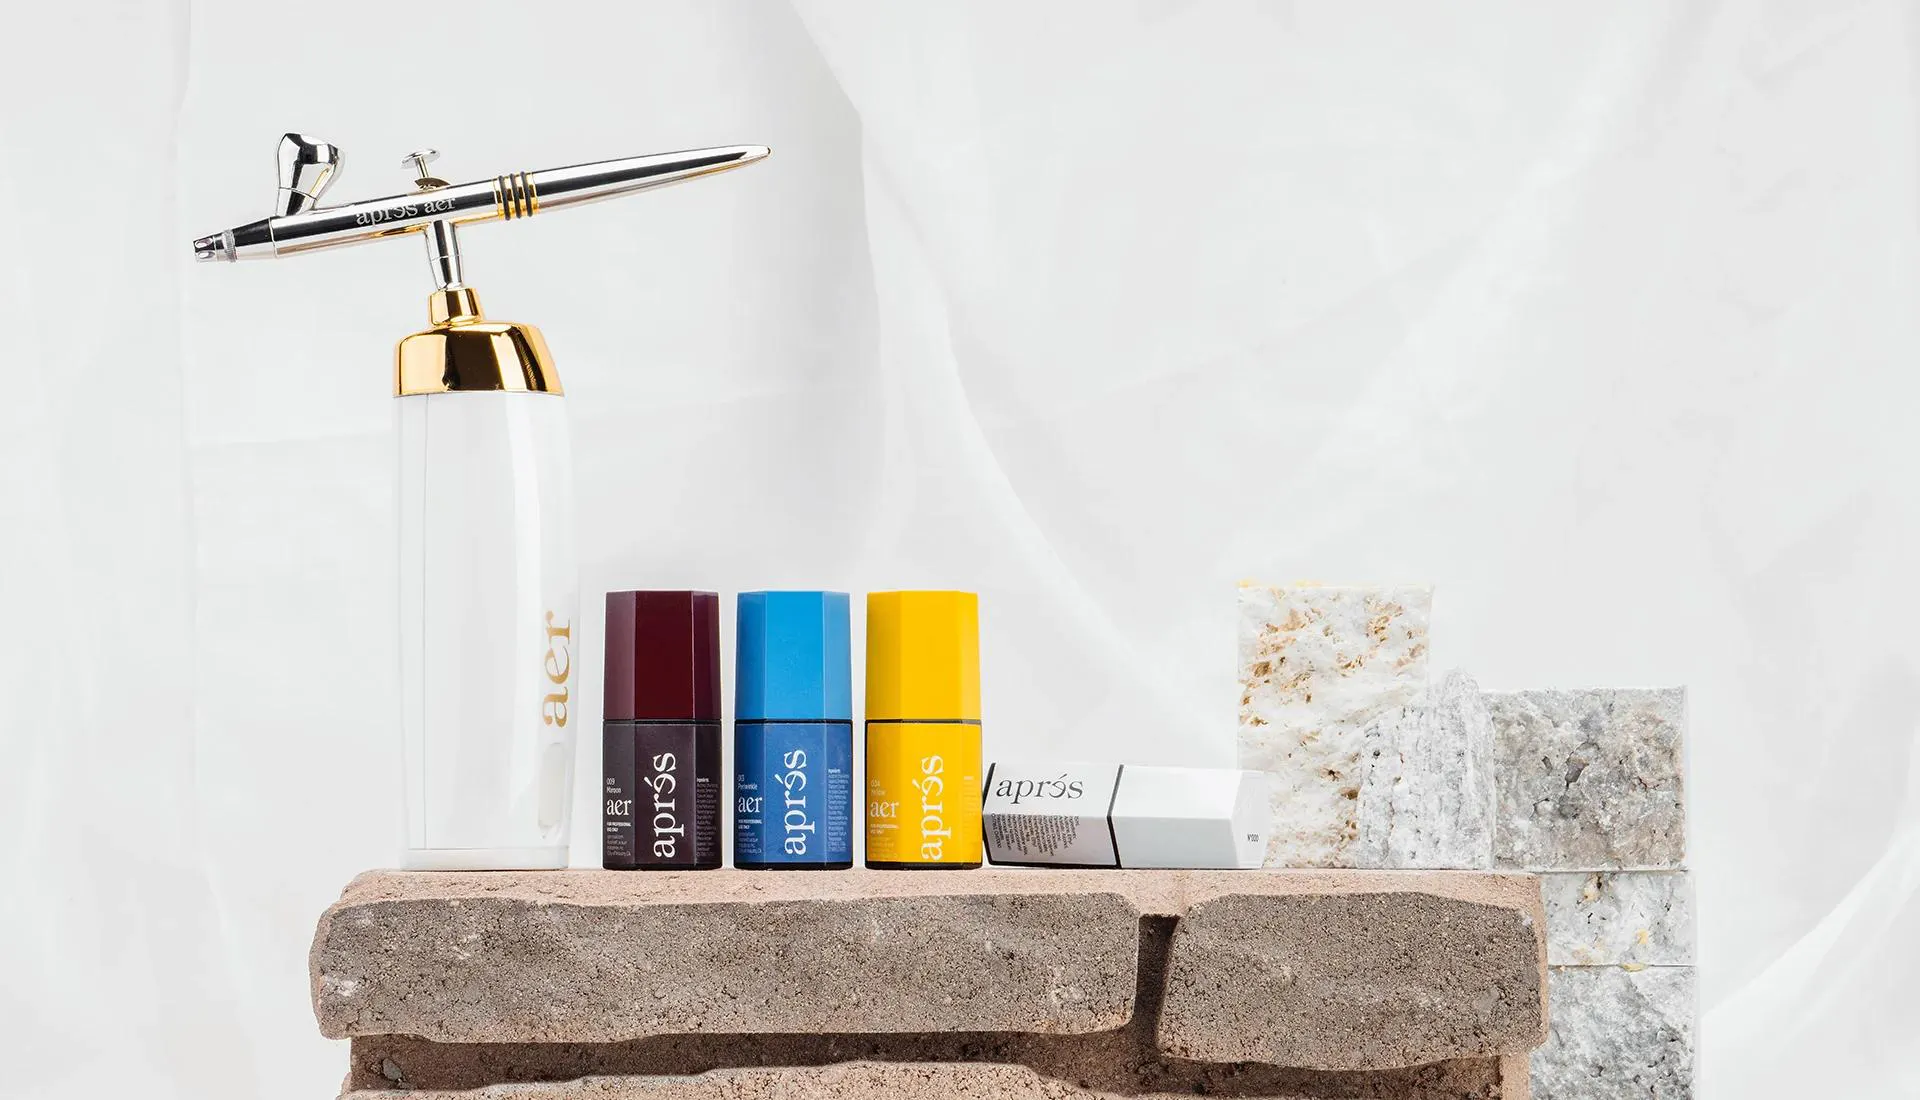
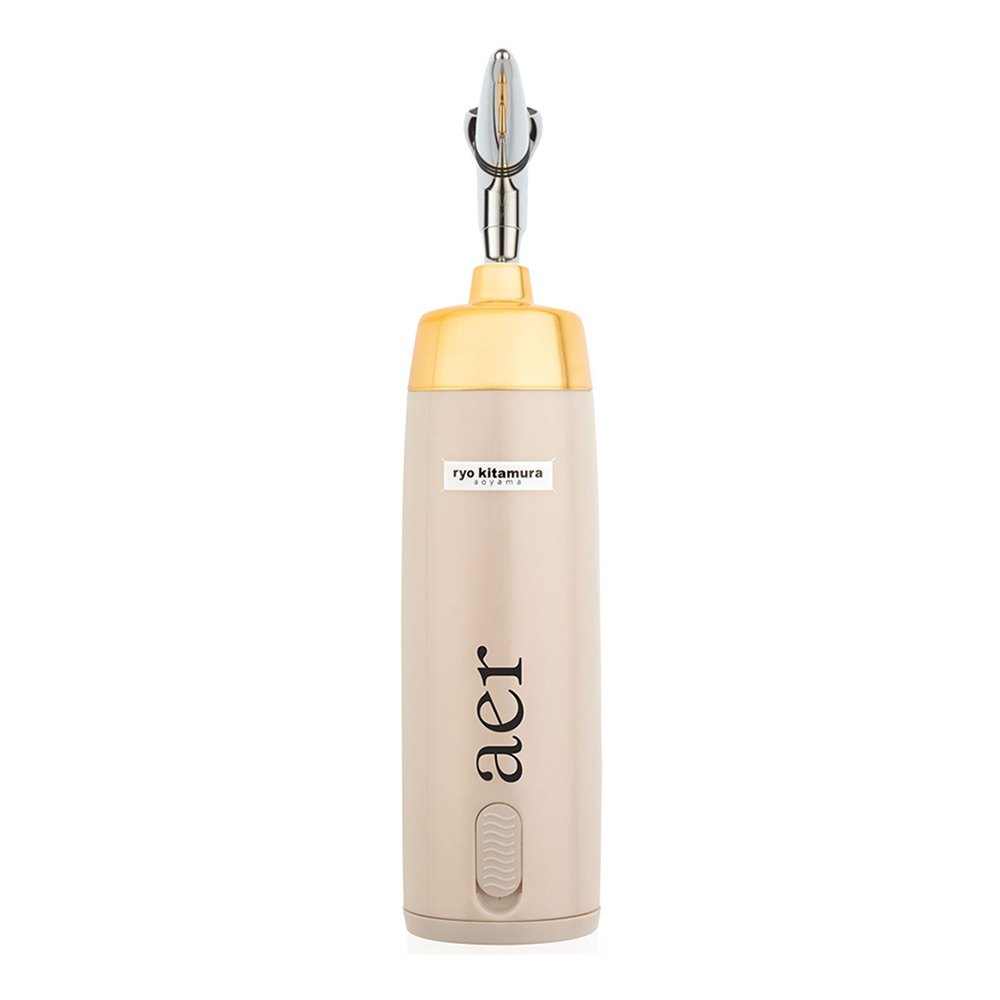
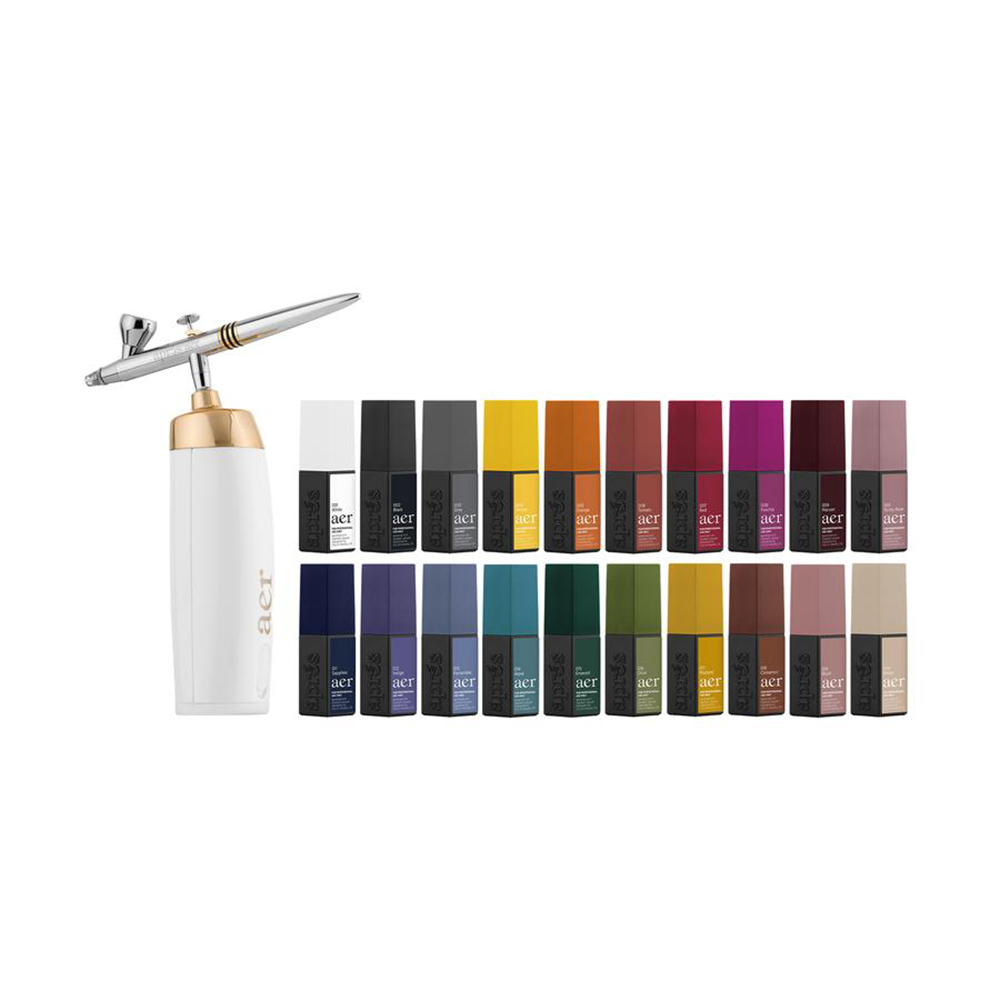
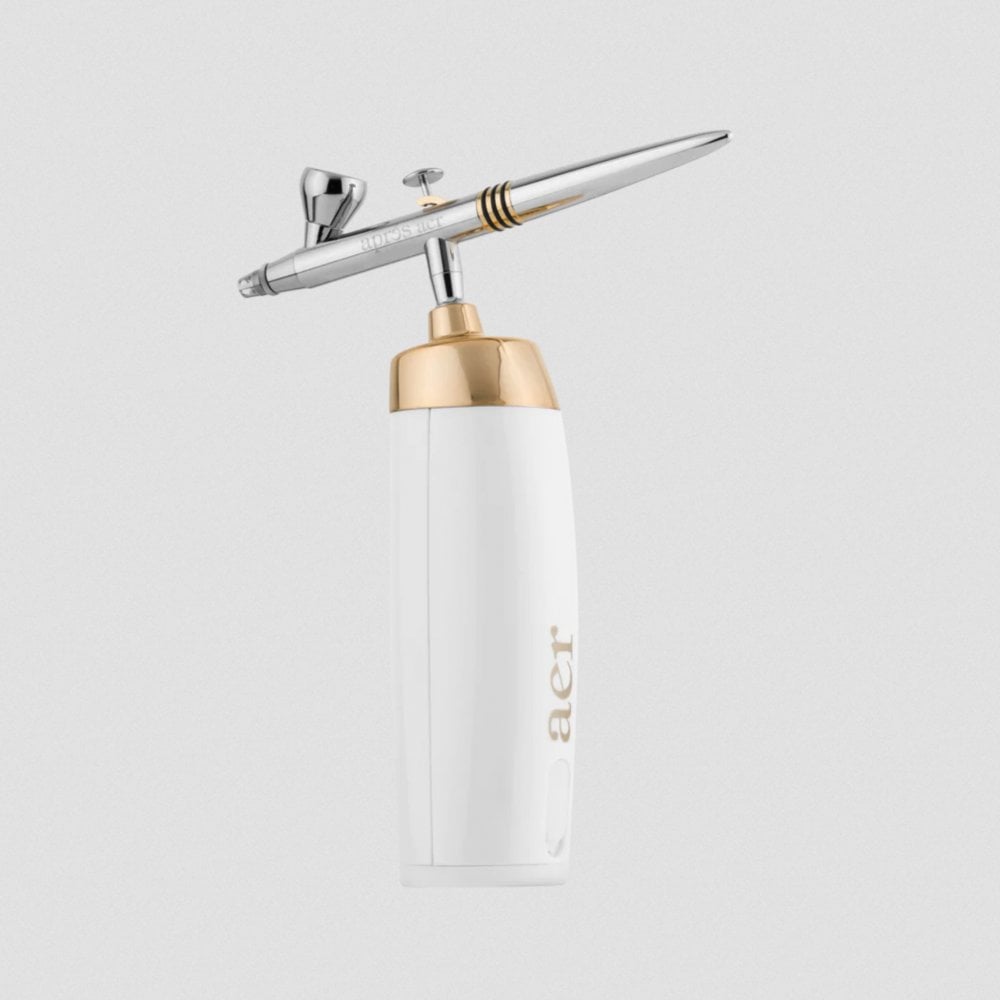
When it comes to professional-grade nail airbrush systems, the Apres brand stands out as a leader in the industry. Renowned for its innovative approach and commitment to quality, Apres offers nail professionals the tools they need to elevate their craft. Additionally, the centerpiece of their lineup is the Apres Aer Airbrush Machine, a sleek and comfortable handpiece designed for utmost precision and ease of use. Moreover, what sets it apart is its compatibility with Apres’ specially formulated Aer Gel, which seamlessly integrates with the airbrush for flawless applications. With features like two different settings and a 45-minute charge hold, it’s clear that the Apres airbrush machine is tailored to meet the needs of professionals. Furthermore, Apres’ dedication to both product excellence and professional development cements its reputation as the go-to brand for nail airbrushes among professionals.
FAQ



Salma Aljabban
I’m Salma, and I love talking about nails, colour and beauty products. I enjoy exploring new collections, comparing shades and sharing ideas for nail art and salon services. You’ll also find me writing about lashes and other beauty favourites, helping you find options that suit your style and your clients.